Do-It-Yourself - Creating a Photo Gallery Wall
July 30, 2020
Planning out and hanging a gallery wall can be a daunting task! I’ve taken all the guess work out of it and created a few simple layout options that can be used in many areas of your home.
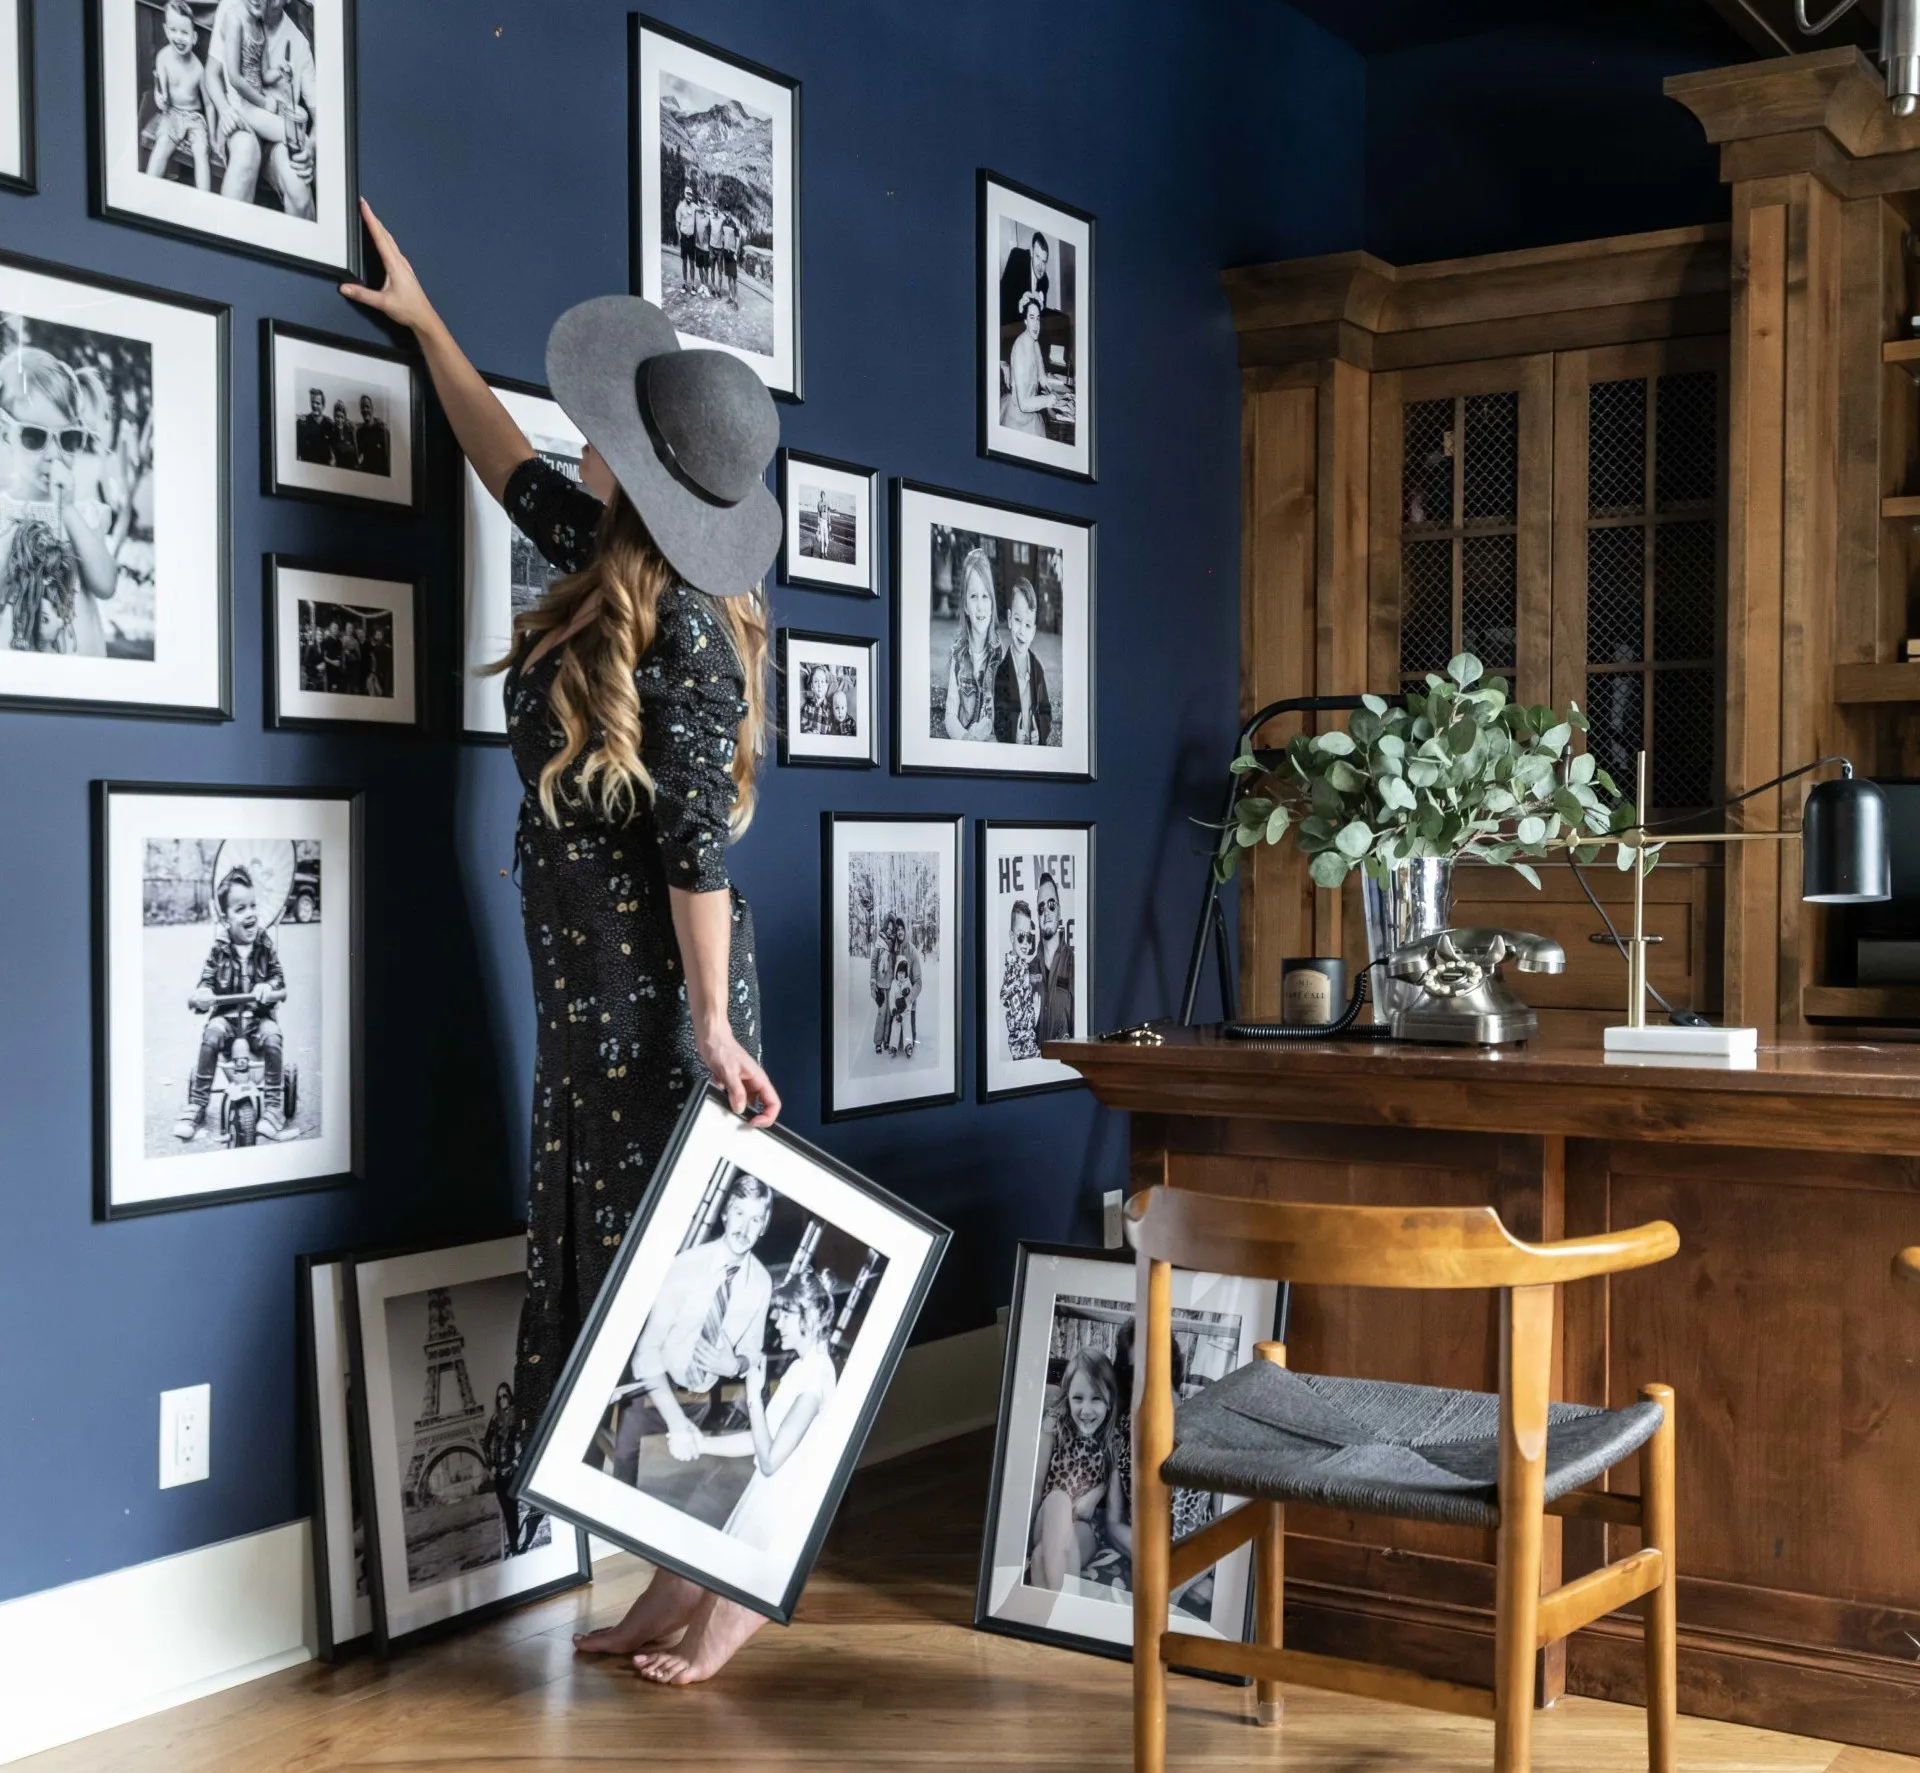
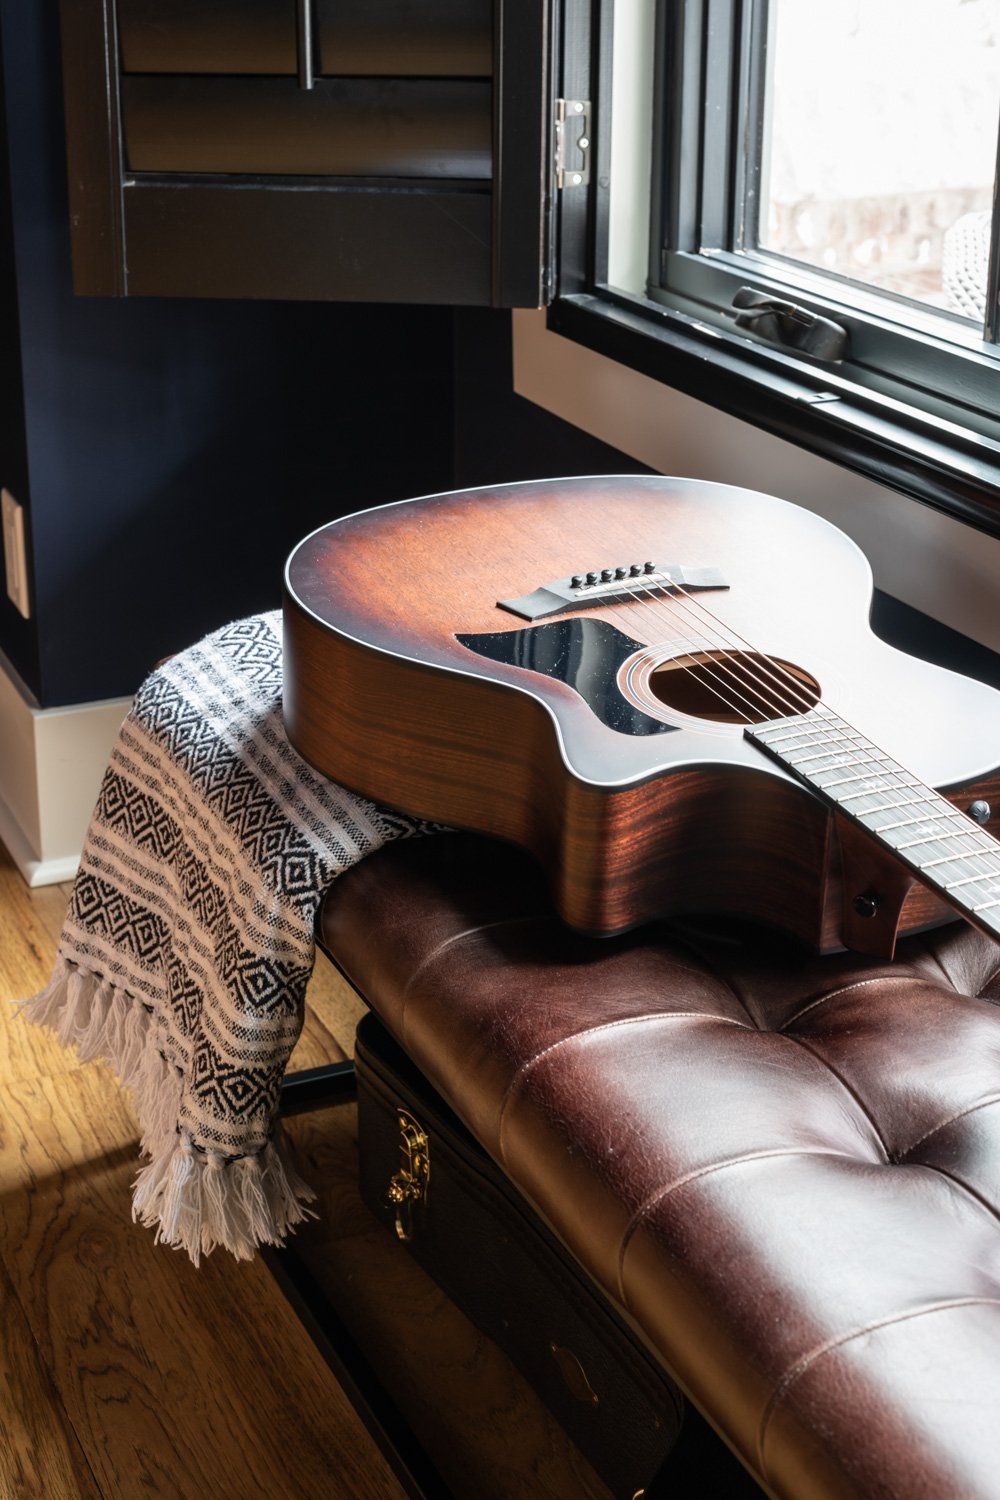
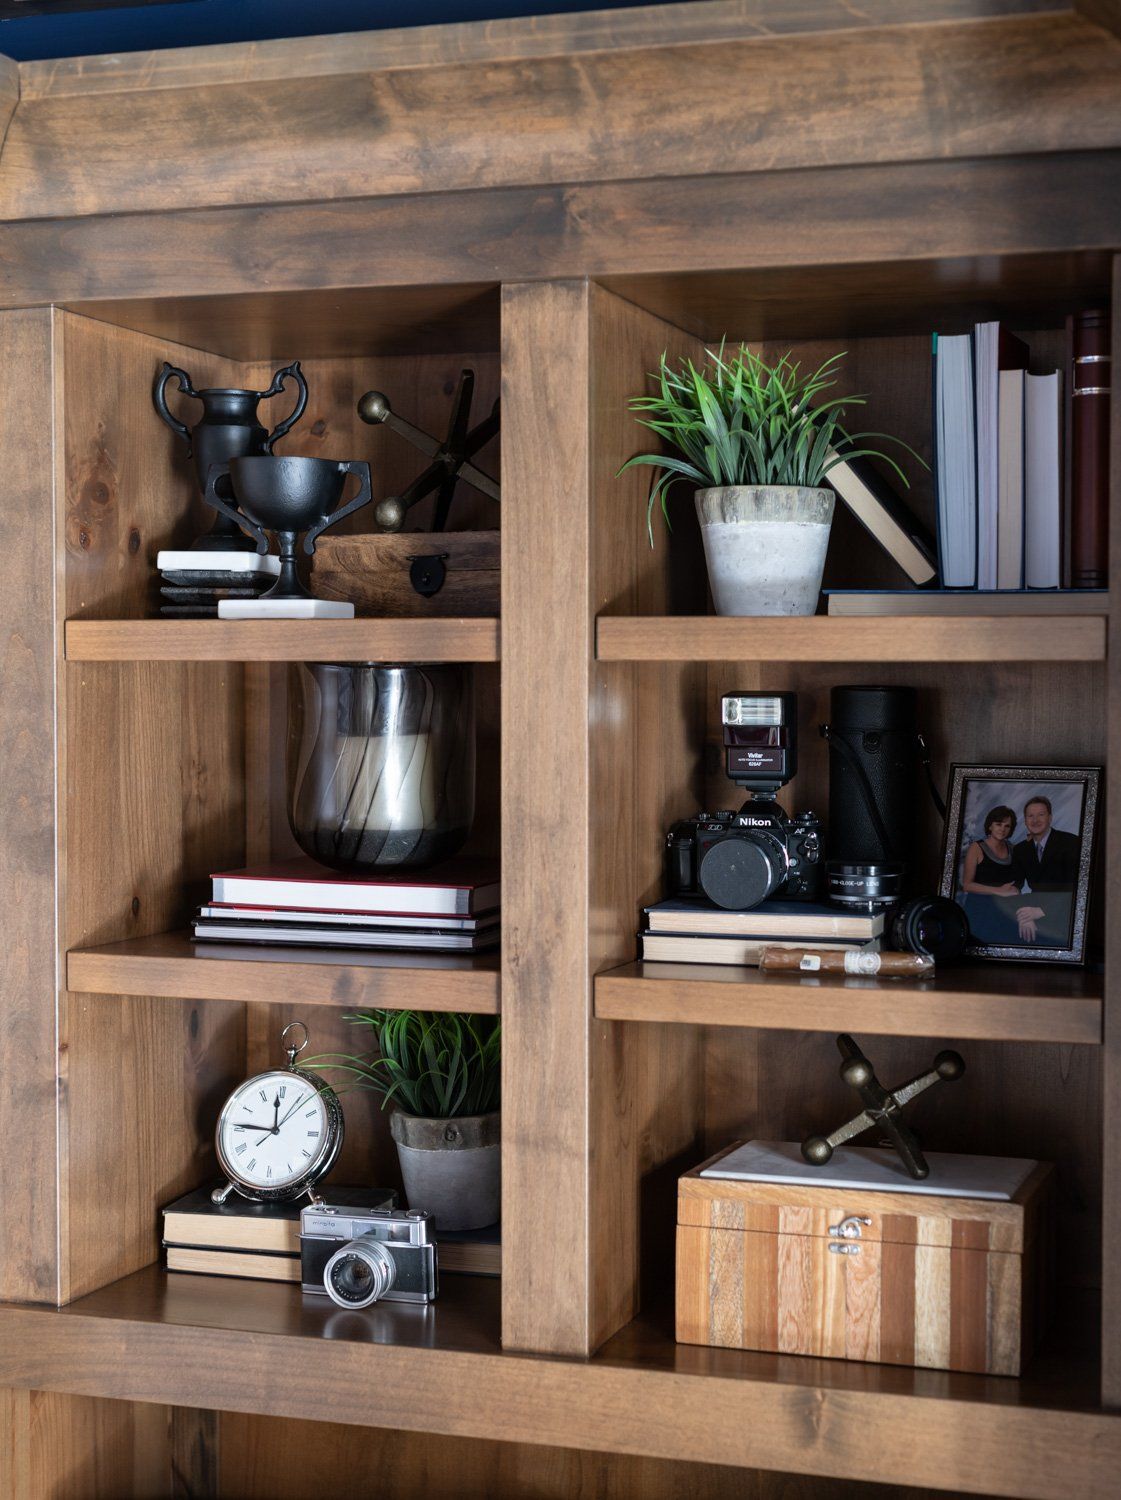
During a recent makeover to my husbands office, he requested a way to display his favorite family photos. To be honest, I’m not a fan of gallery walls with a lots of little frames and other random items all hung in a very organic pattern. That's not the look we were going for in here. I wanted big impact with clean lines, and to reduce visual clutter as much as possible. Plus plenty of scotch, guitars and other items he loves.
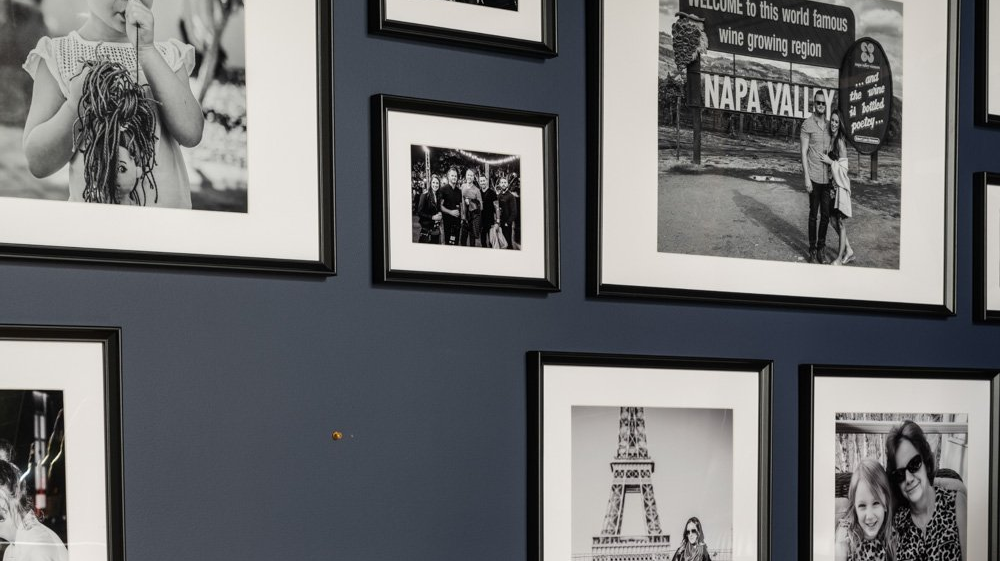
The office turned out stunning - here are some photos of the final result! Scroll down for tips and tricks for achieving this style.


Here are the steps we used to design and install our gallery wall:
#1 - Plan Ahead!
Planning the gallery wall ahead of time will save you time, money and serious frustration. Ideally you will know exactly which frames you are purchasing, how many you will need and the placement of each on the wall.
We measured the entire wall, selected a frame to use from IKEA (links below!) and mapped out the complete gallery before purchasing anything. We knew the exact size of each frame, and exactly where we would hang them to create a cohesive design.
#2 - Measure
First, we measured the entire wall that will contain our gallery and determined the distance our outer photos will be from the edge of the wall. Leave a healthy amount of space here – you don’t want photos getting too close to the edges of the wall! Our gallery starts 28” from the edges of the wall.
Next, determine the top and bottom boundaries of your gallery. Our gallery is 24” from the floor and 24” inches down from the ceiling.
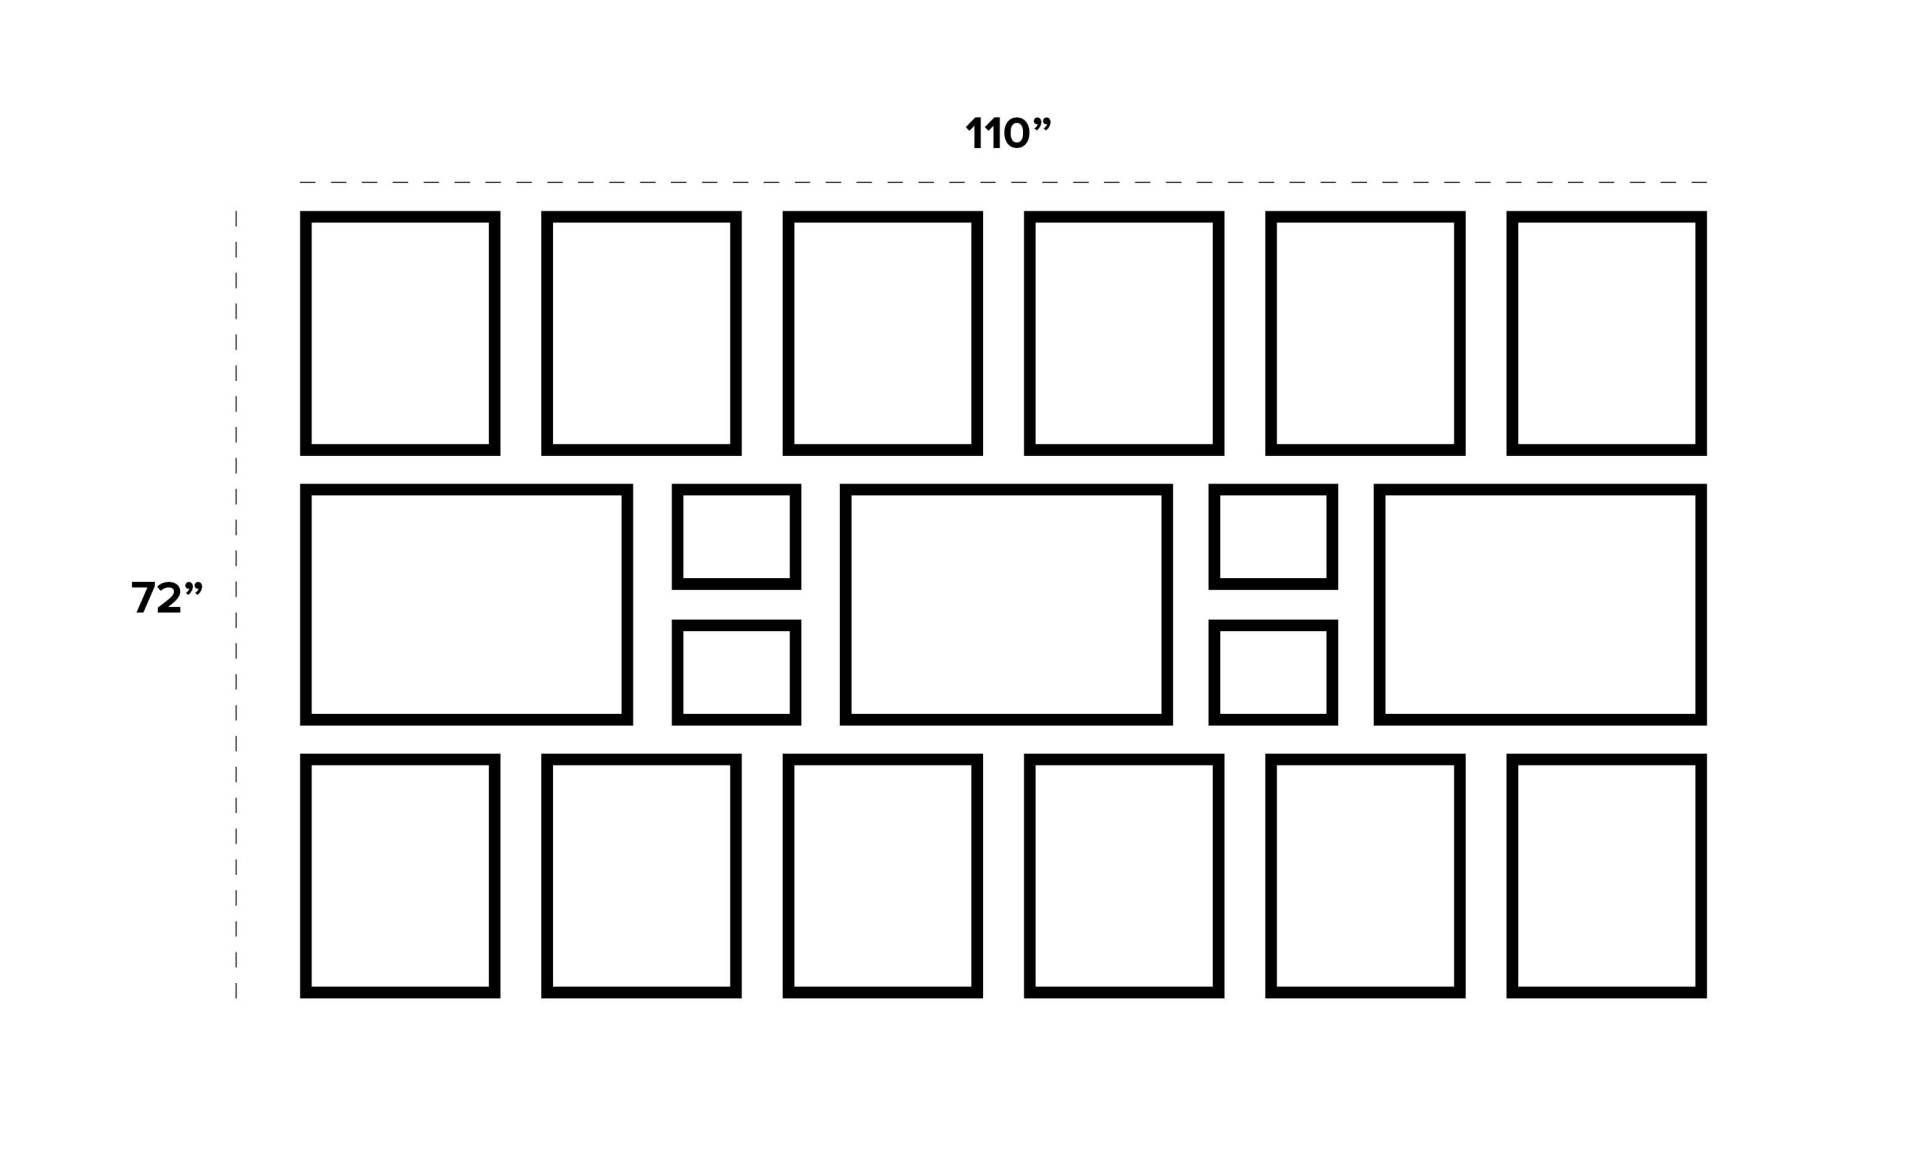
This left us with a 110” x 72” rectangle to install our gallery wall. Now that we know the area to place our photos, it’s time to select a frame size and start laying them out.
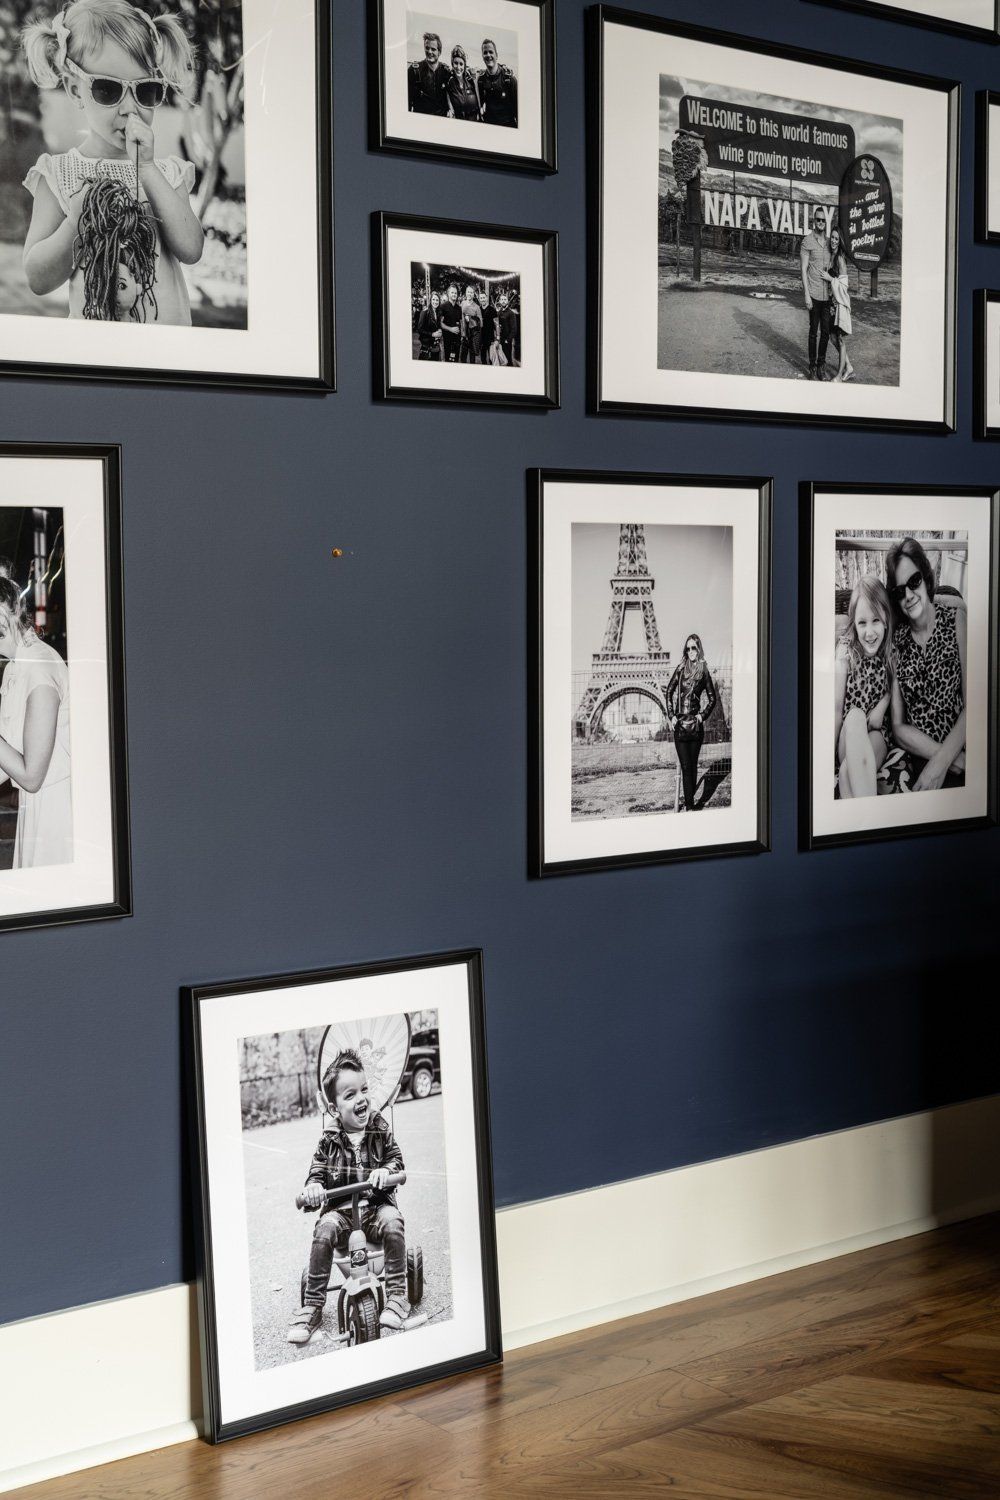
Photo layout can be based on your personal tastes, but here are a few tips to achieve our look:
- Gaps between photos should be as consistent as possible. We used a 3” gap between our photos.
- If possible, create either consistent rows or columns that photos can be aligned in (choose one!). In our gallery, we used horizontal rows as a set top and bottom that photos are aligned to. Often your rows or columns will be defined by the largest frame size you choose.
- "Visual” alignment often matters more than the ruler. In design occasionally items look more centered even if the ruler says they aren’t. Use your eyes and if it looks right to you, it’s probably good enough!
#3 - Purchase Frames
Before we could finalize our layout, we needed to know each frame size. We selected a cost-effective frame from IKEA (the KNOPPÄNG line), and used the dimensions on the website to roughly map out our gallery layout.
We did the layout on a computer, but you could cut out simple paper blocks to arrange on a desk, or use an online design app like Canva or Sketchup depending on how tech savvy you are.
Our gallery included 3 different frame sizes, and a total of 19 frames:
- KNOPPÄNG 12” x 16” – mounted vertical, total of 12 frames
- KNOPPÄNG 16” x 20” – mounted horizontal, total of 3 frames
- KNOPPÄNG 5” x 7” – mounted horizontal, total of 4 frames
These frames all range from $5 to $20, and we spent under $300 for all the frames.
Frame selection tips:
- Go big – choose large scale frames and use less of them. This really highlights the photos and simplifies the layout.
- Choose a consistent frame style for the whole wall. Avoid mixing / matching different frame styles as that draws the attention away from the photos.
- Mats are beautiful and help add some breathing room to the photos. If possible, choose frames with substantial mats included.
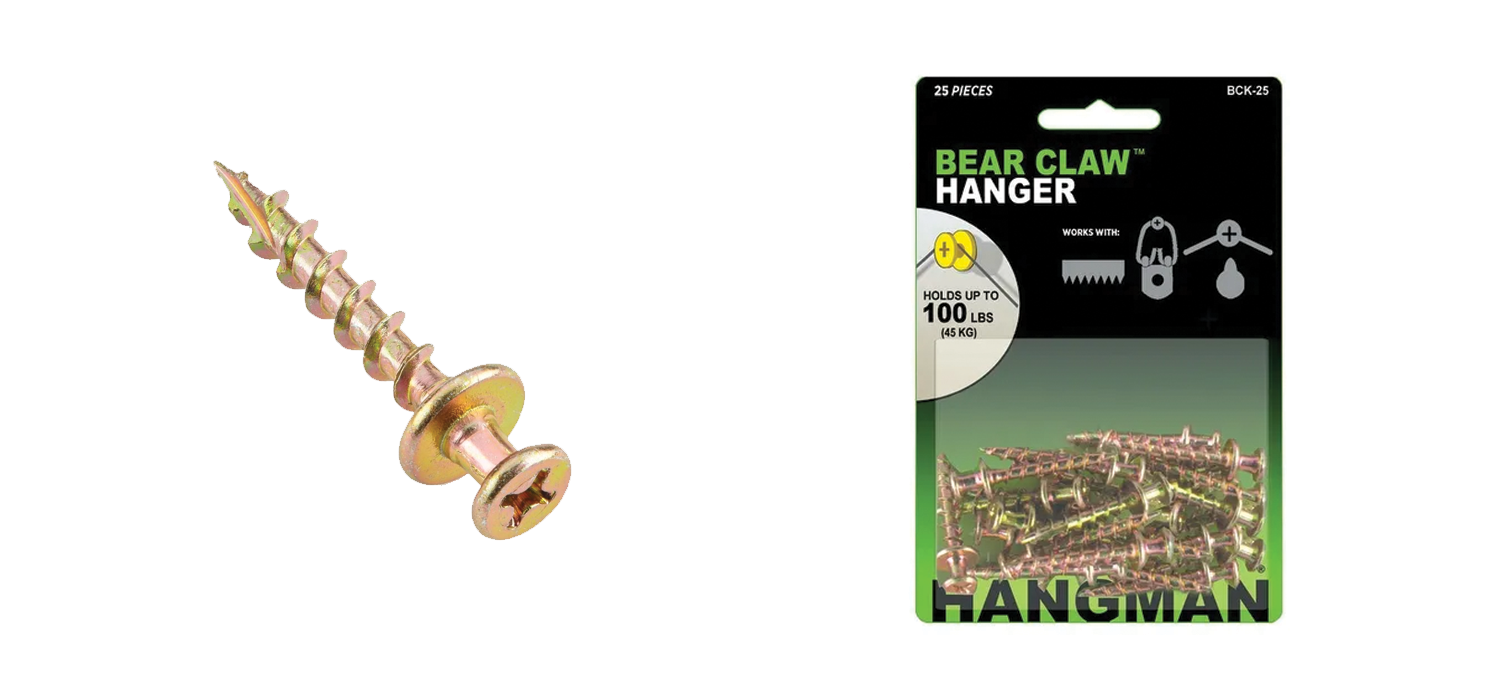
#4 – Buy Mounting Hardware
Use high quality mounting hardware when hanging these frames. They aren’t heavy, but if you use traditional picture hanging hardware (where the frame actually hangs from a hook and inch or two below the hardware) then it’s really difficult to get a nice tidy alignment.
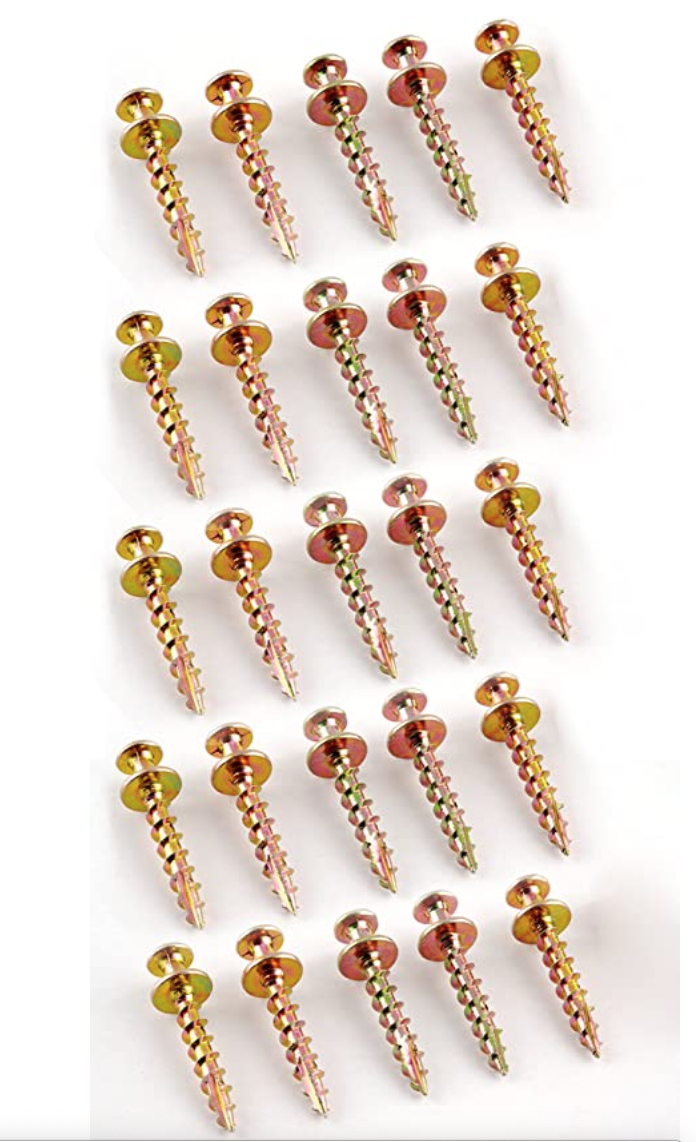
We used Bear Claw Screws to hang our photos. They screw directly into the drywall and the frame will hang exactly where you place the screw. They do very little damage to the wall, and hold up to 30lbs! This was a life saver and made it incredibly easy to line them up perfectly.
Also, be sure the hooks on your frames are all in the same spot. IKEA frames have a mounting hook in the exact same spot on each frame, however if the hook varies from frame to frame, you might be in for a long night…
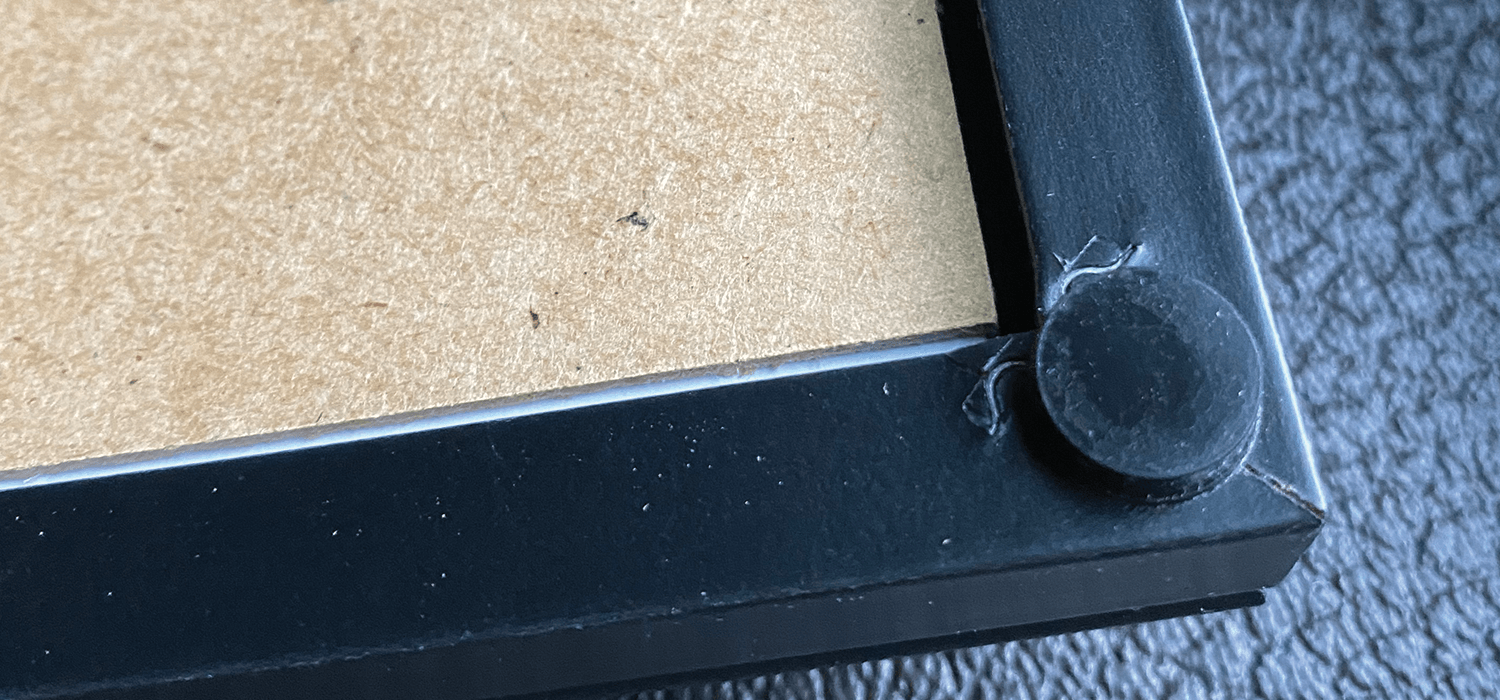
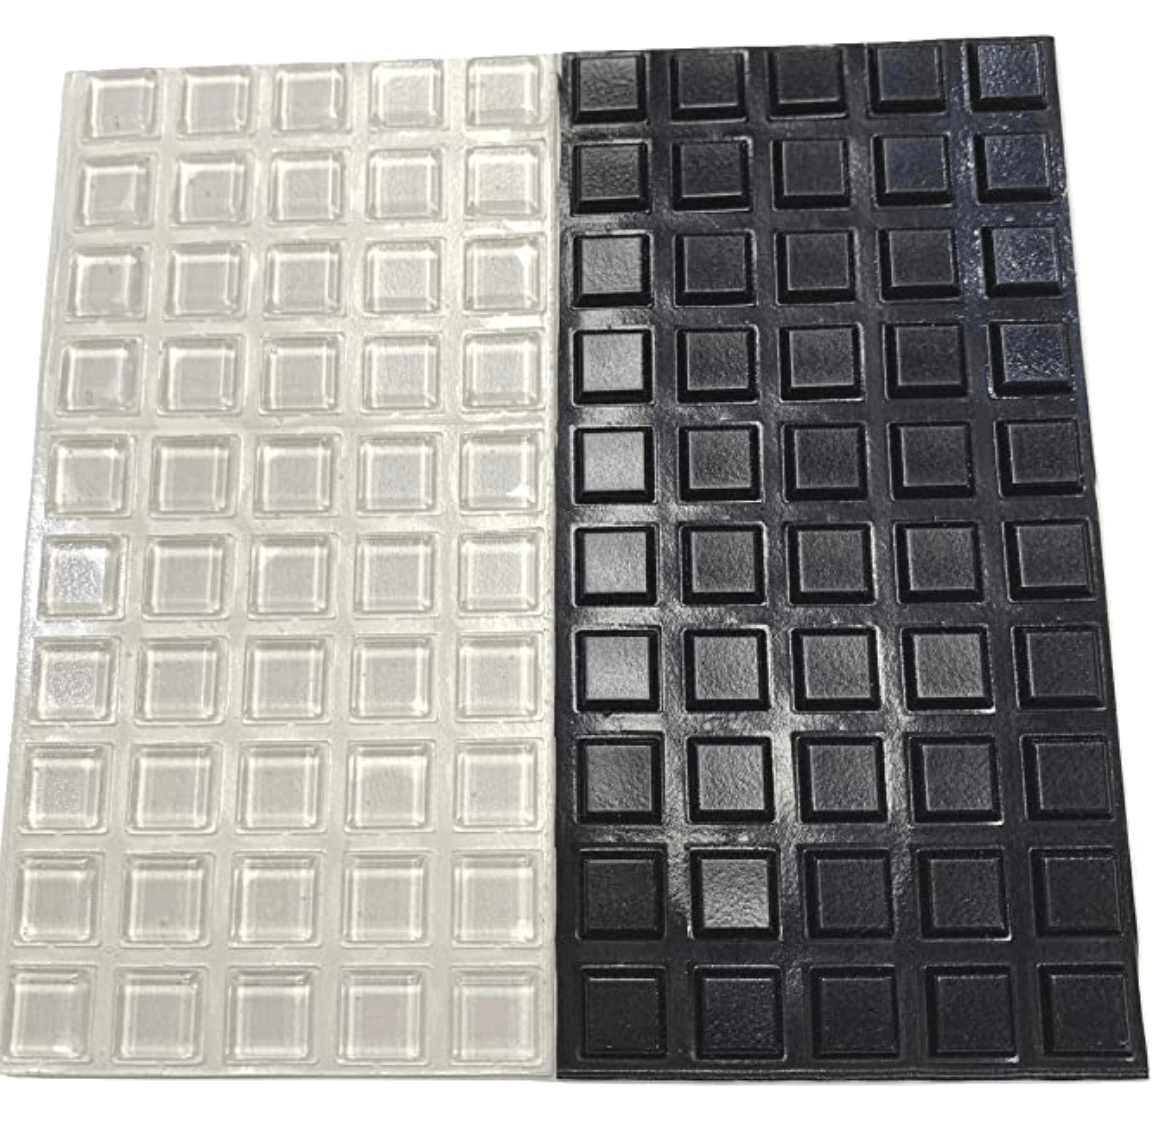
Step 5 – Install & Use Rubber Bumpers
Install your screws according to your plan and apply some rubber bumpers to the back corners of your frames. These bumpers will stop the photos from sliding side to side, and also give you some wiggle room in case your screws aren’t perfect.
You can buy a large pack of rubber bumpers on Amazon here:
Step 6 – Order Your Prints!
To keep the visual clutter to a minimum I recommend choosing photos that all have a simple color or style. If you can’t do that, you can always edit them to black and white using an online photo editing app!
We ordered all our prints through London Drugs online Photo lab. During the upload process you can adjust photos to different sizes, and even make them black and white as needed!
Make sure if you have different size frames on hand to order your prints accordingly.
I hope this helps simplify the process of installing a beautiful gallery wall in your home! We chose photos that represented an event or special occasion in our lives. Photos have the ability to transport you back to that time or place, and a gallery way is a great way to be reminded daily all that we are grateful for!
Cheers!
Kaitlyn


A fun twist on a classic bruschetta recipe for your next halloween party!

A spooky treat just in time for Halloween!

We love making these yummy, heart-shaped cookies around Valentine's Day, but you can make them all year round!