Behind the Scenes - Country Fair Birthday Party
To celebrate our daughters 6th birthday (while still maintaining social distancing) we hosted a creative driveway party!
When we originally decided to host this years birthday party outside I was worried that it would be hard to make it as special as the parties we've hosted before. I shouldn't have been so concerned because with a few simple DIYs we were able to throw a sweet and special day for our girl! Who knew a driveway party could be so cute.
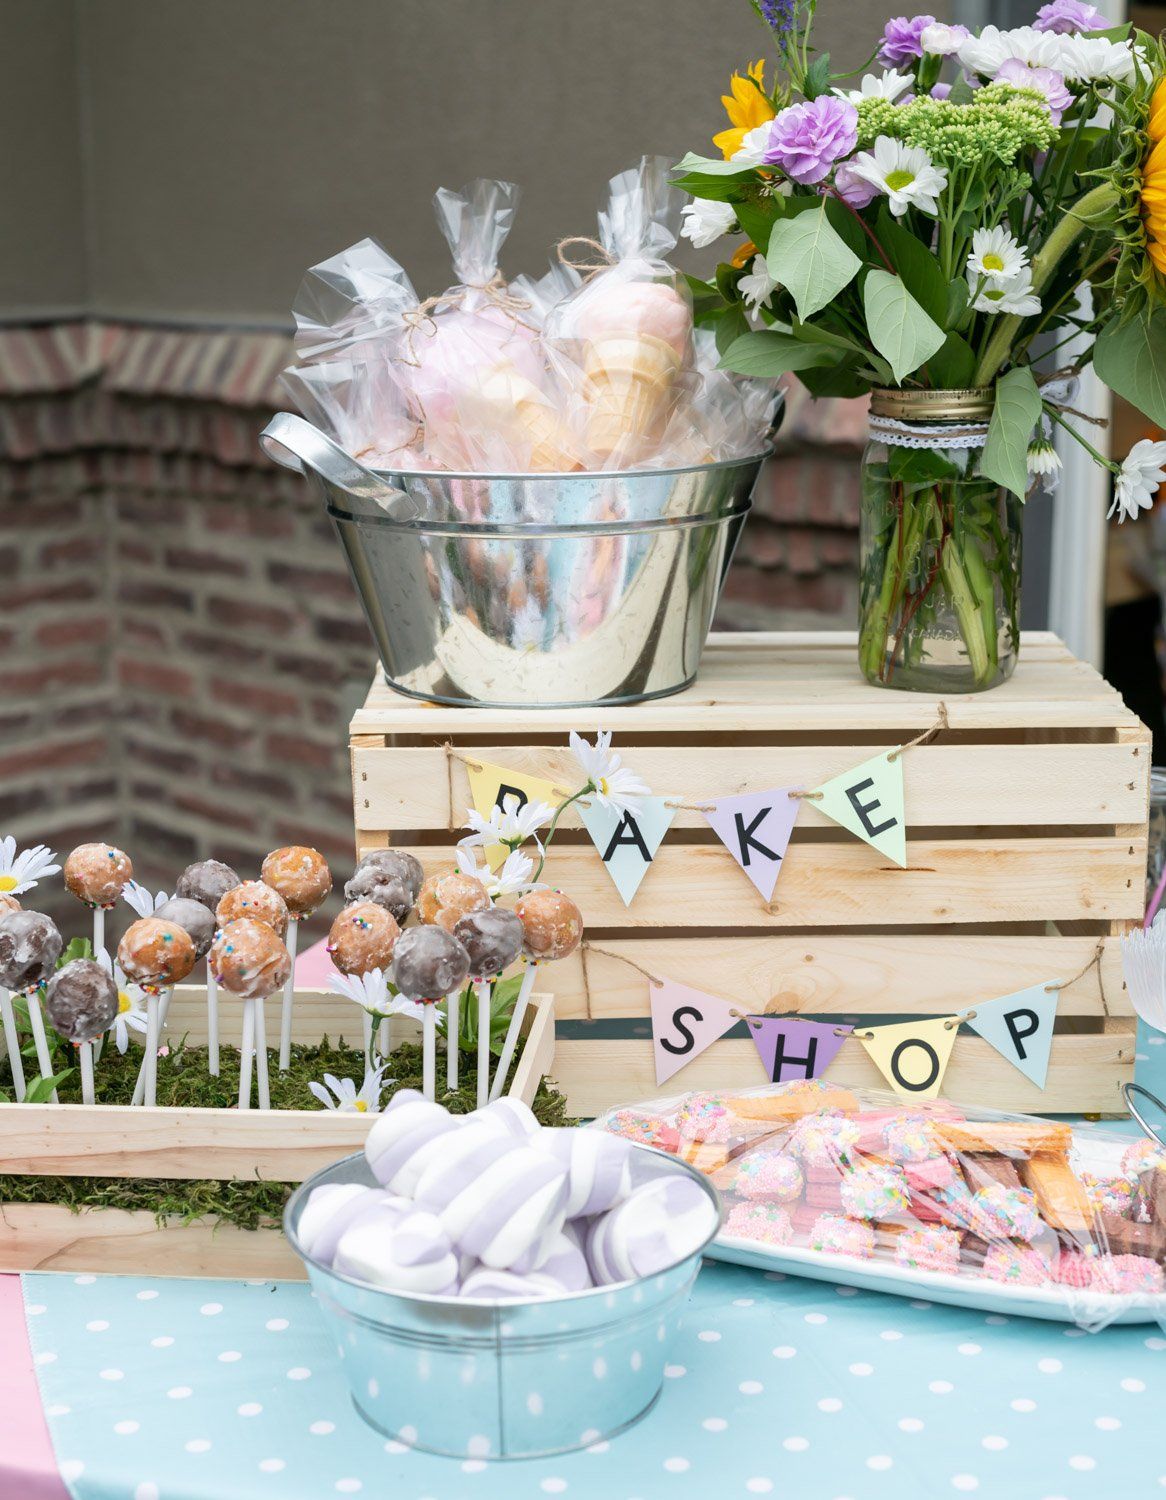
Bake Shop
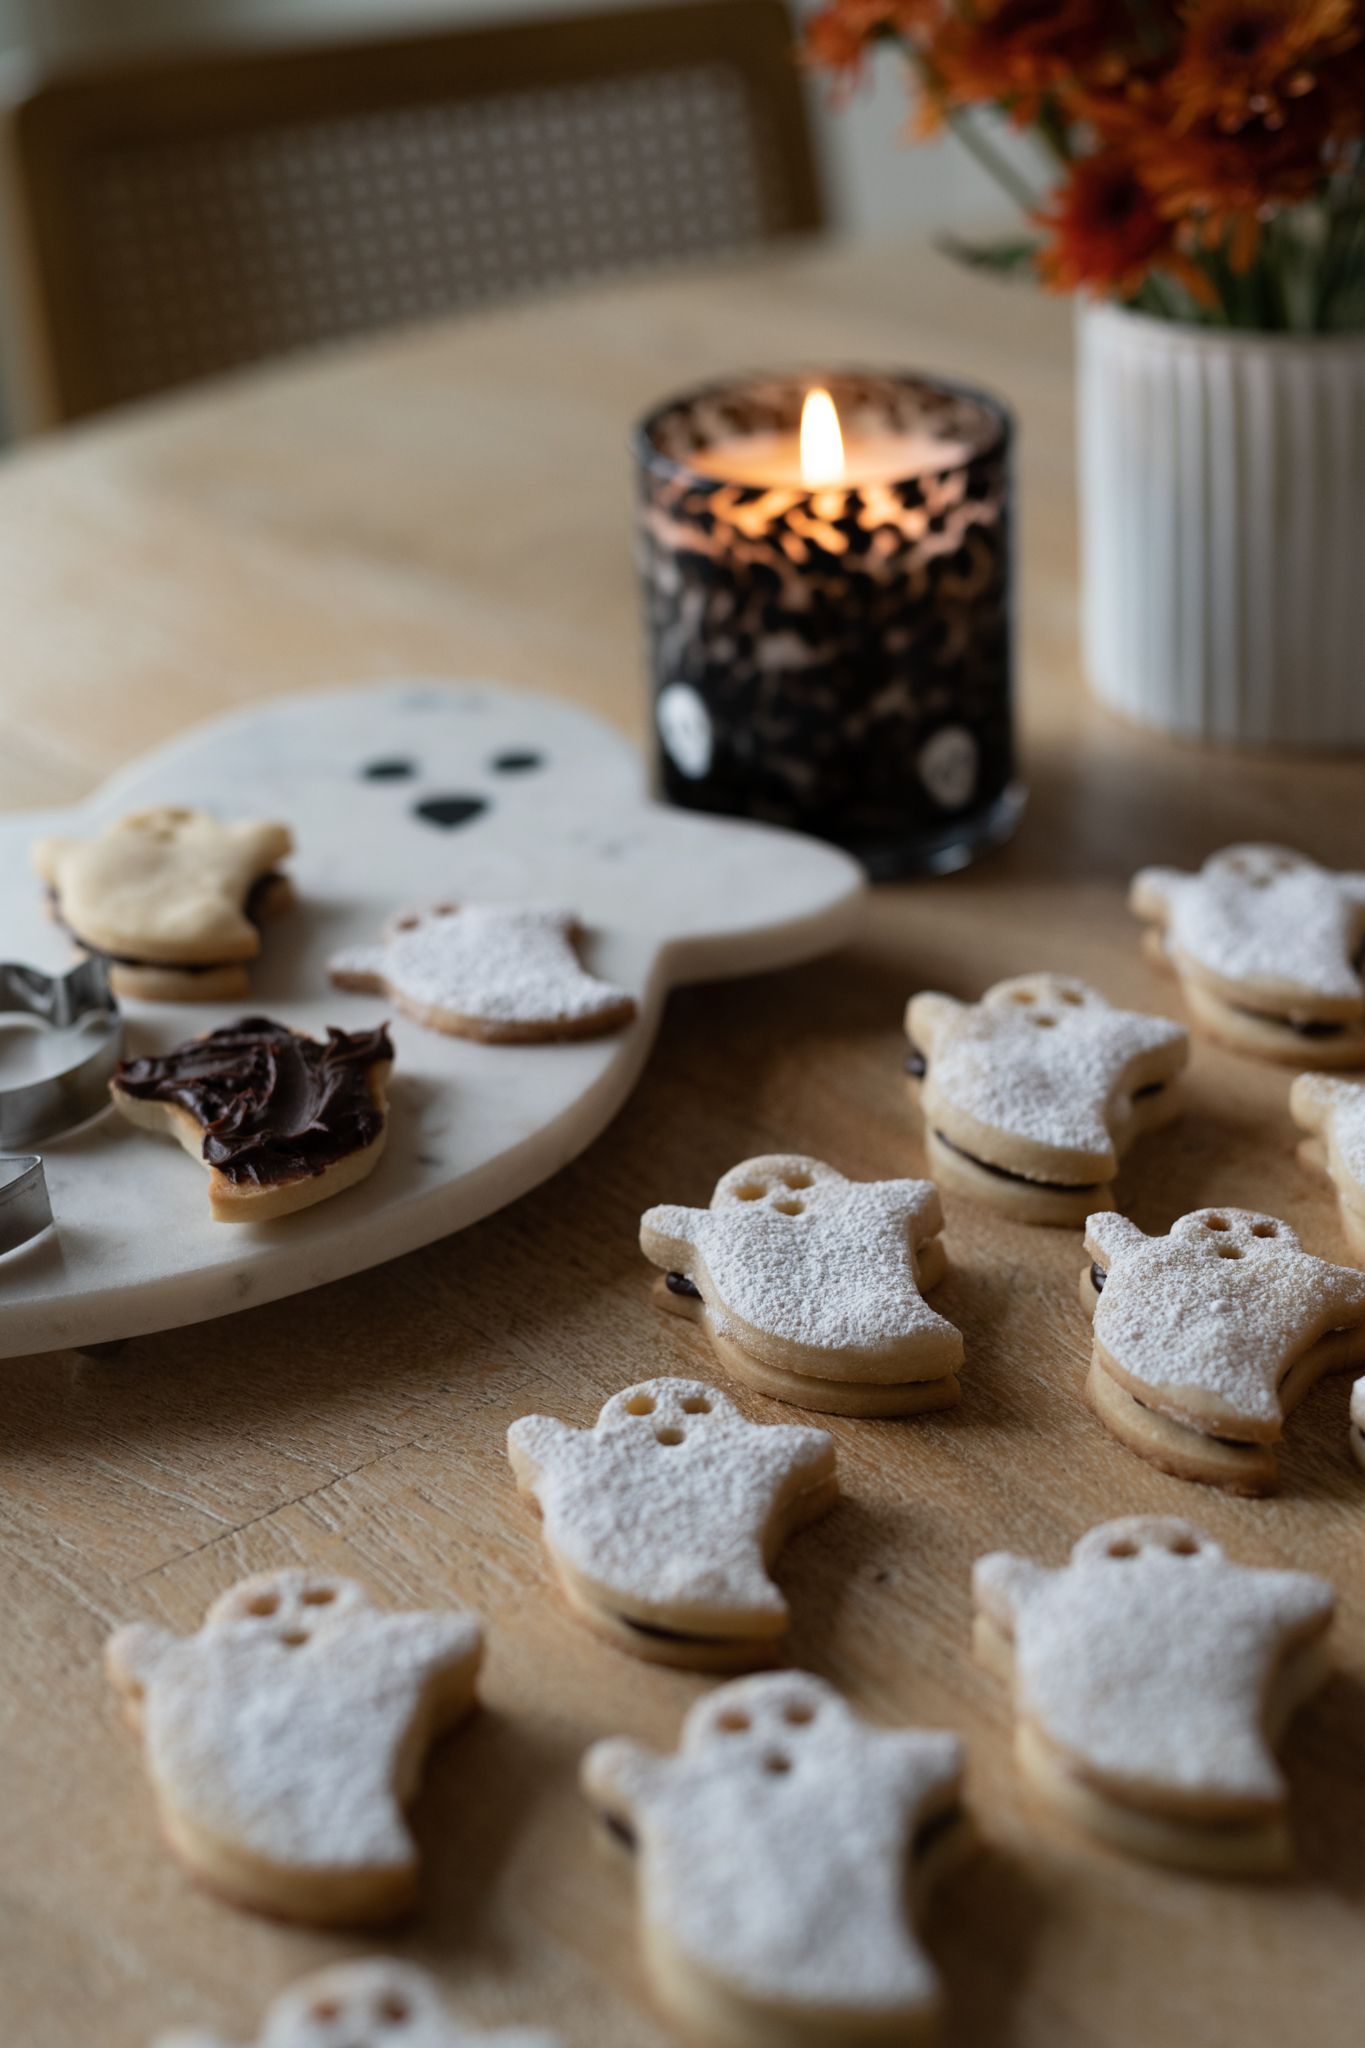
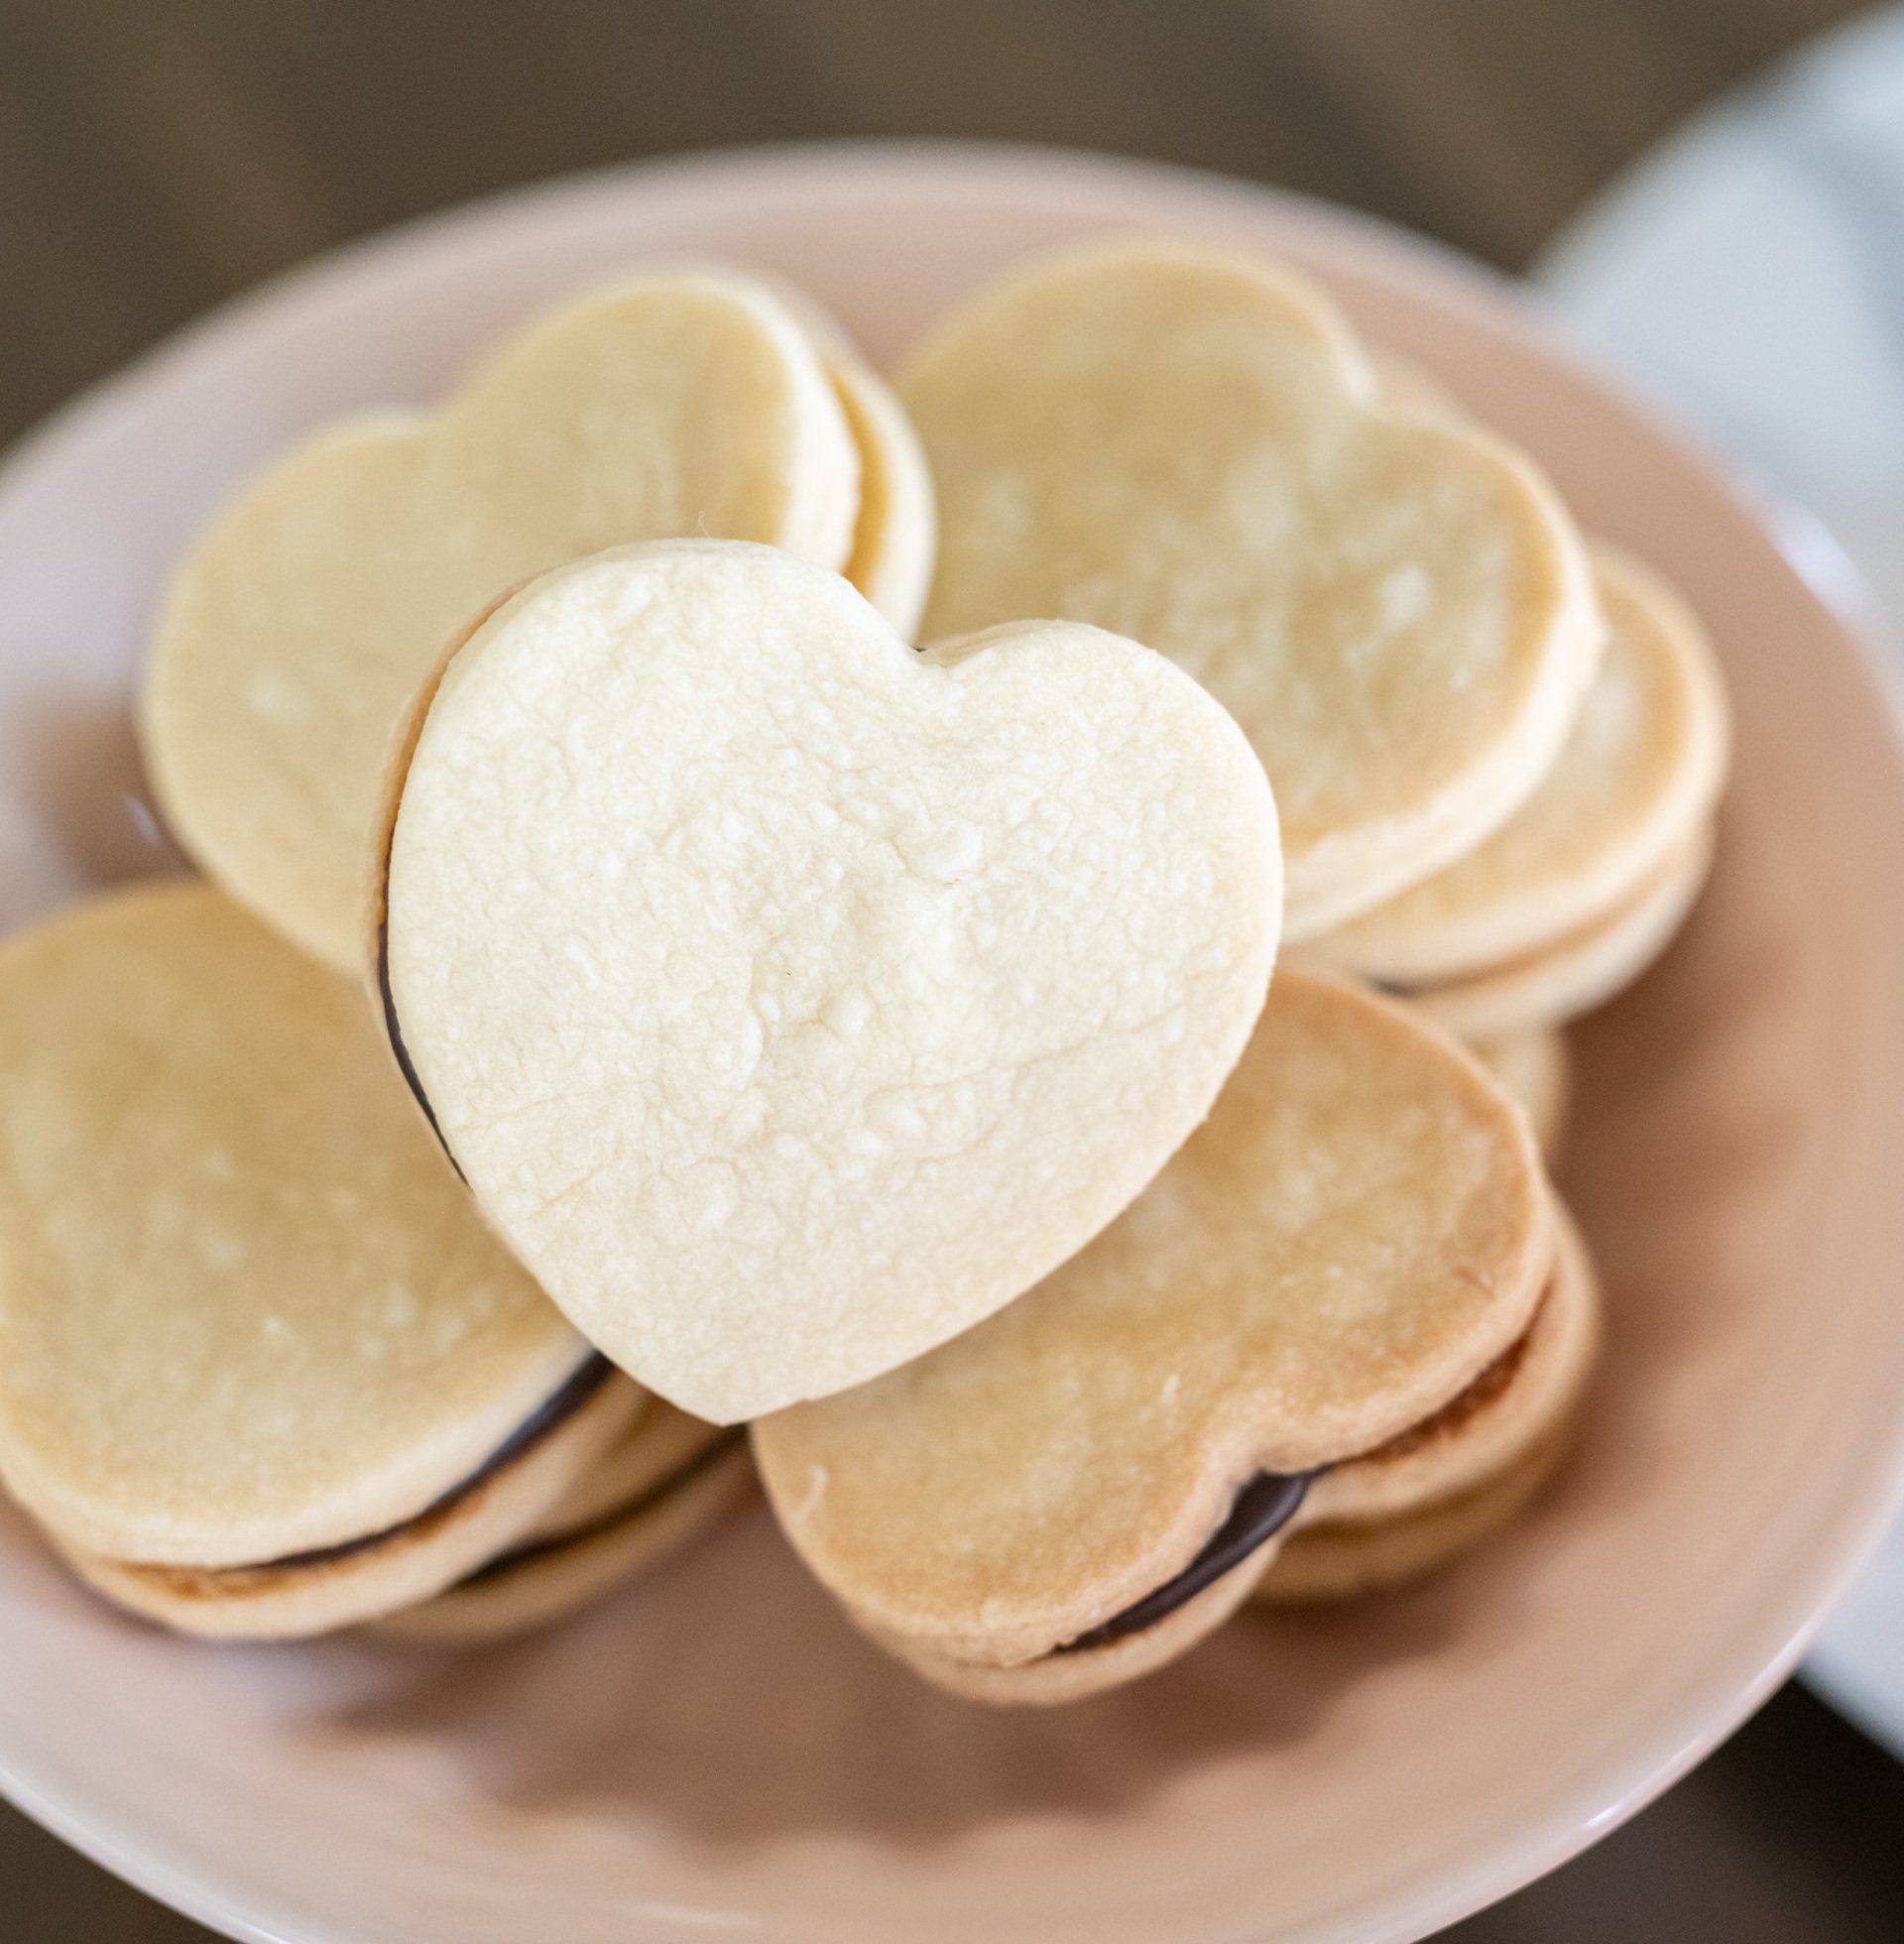
I'm a busy mama and sometimes you just have to take the short cuts when you can... so here are three easy treat ideas for your next party. In the past I've done lots of baking for Winn's parties but this year I decided to keep it sweet and simple. My favorite way to dress up some store bought goodies is by adding a touch of the party colors or theme. You can sneak a peek of the store bough ice wafers dipped in melted hot chocolate and a bowl of sprinkles. The kids always devour these and they take less than 10 minutes to whip up.
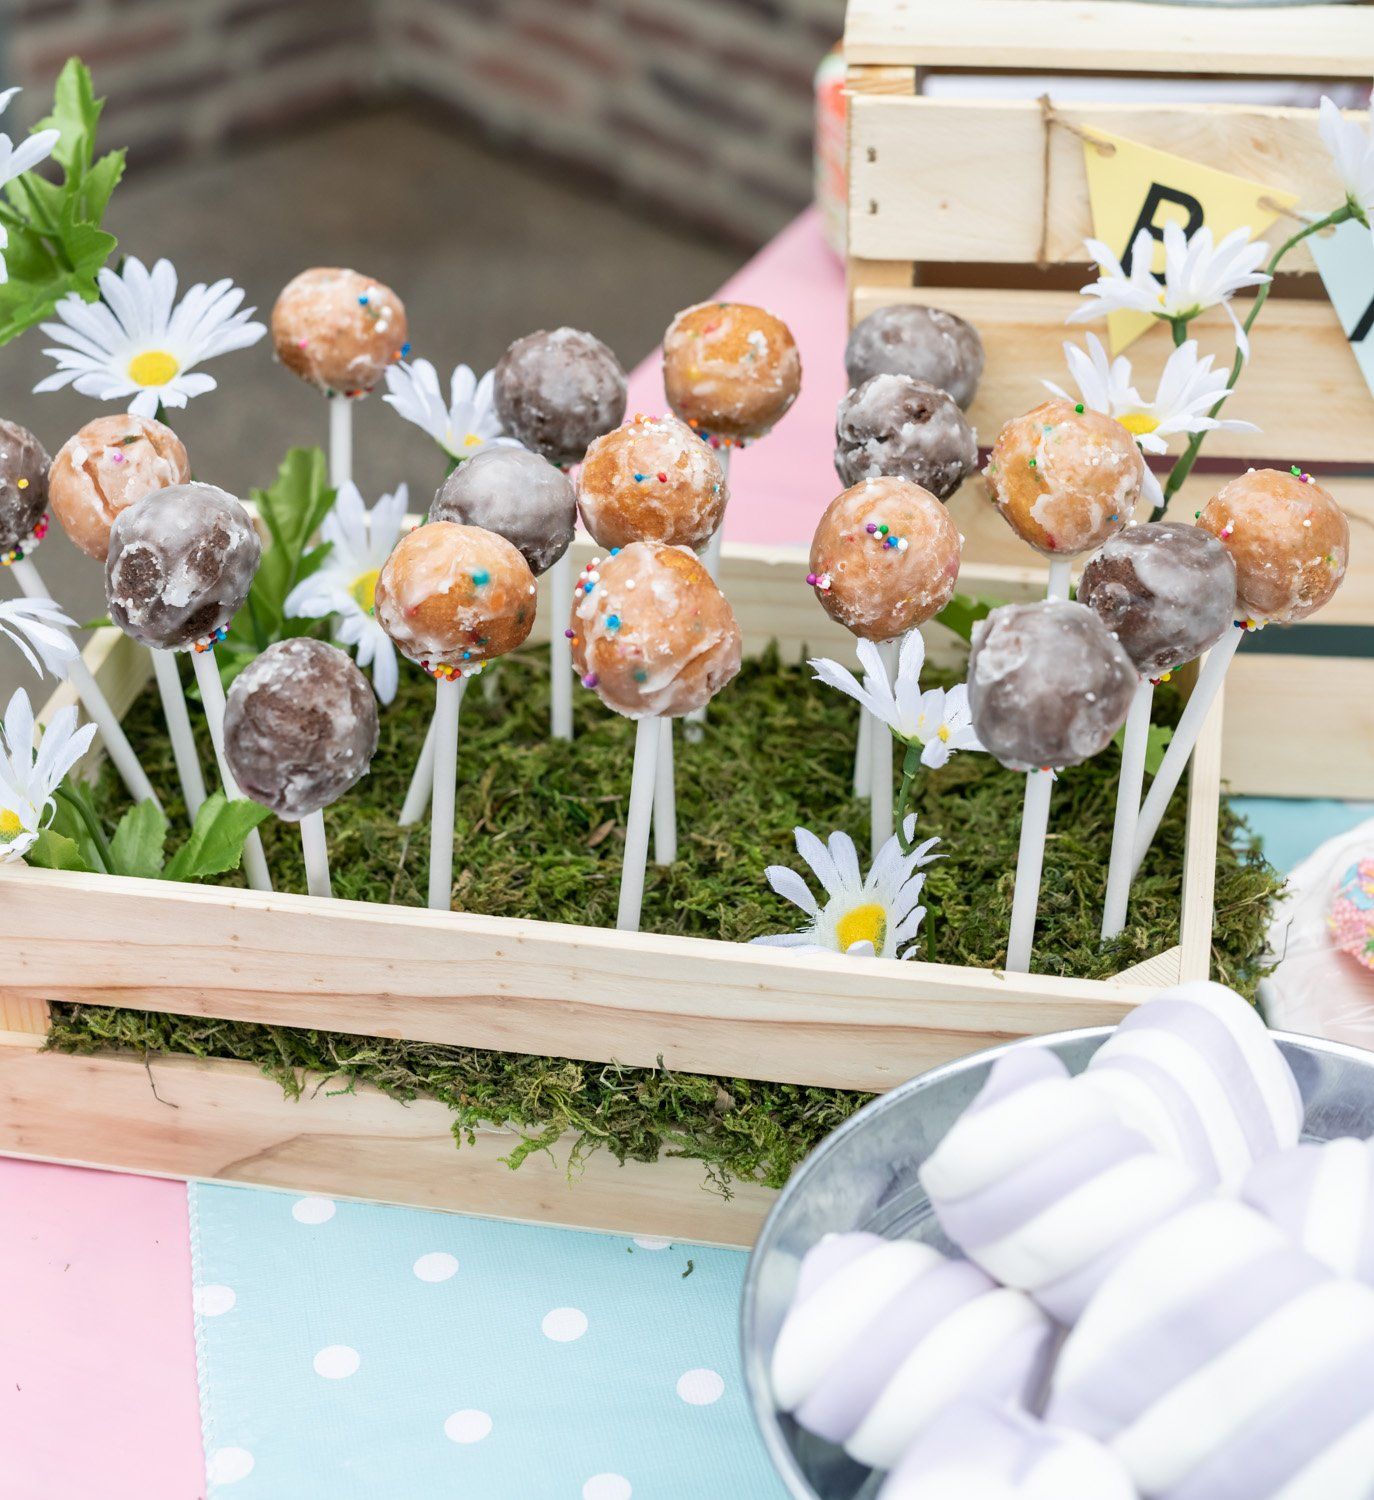
Both my kids are obsessed with cake pops but I've never attempted making my own. These are actually just Timbits from Tim Hortons (or if you aren't from Canada, donut holes). I used cake pop sticks to create a hole and then dipped the stick in white chocolate before setting it inside the donut. Add a few sprinkles around the left over chocolate and you have easy instant cake pops. If you want to get really creative you can add additional icing or sprinkles but we kept them classic.
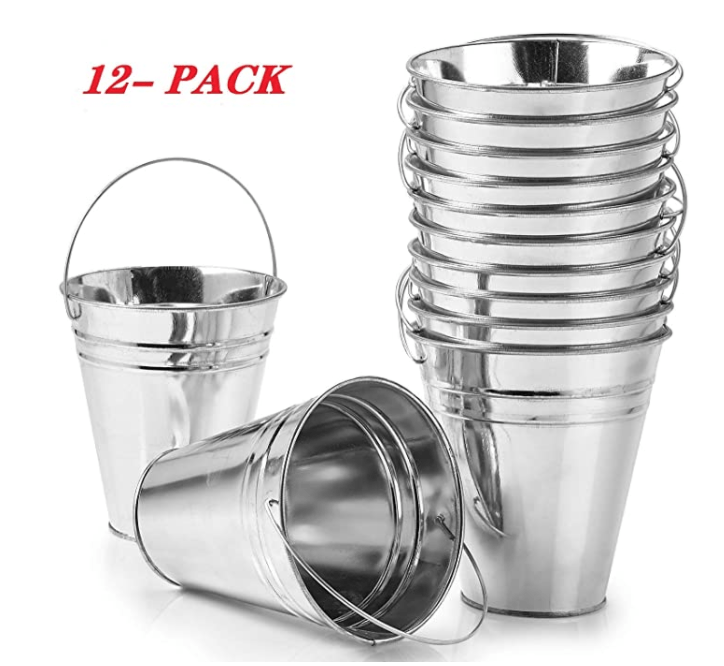
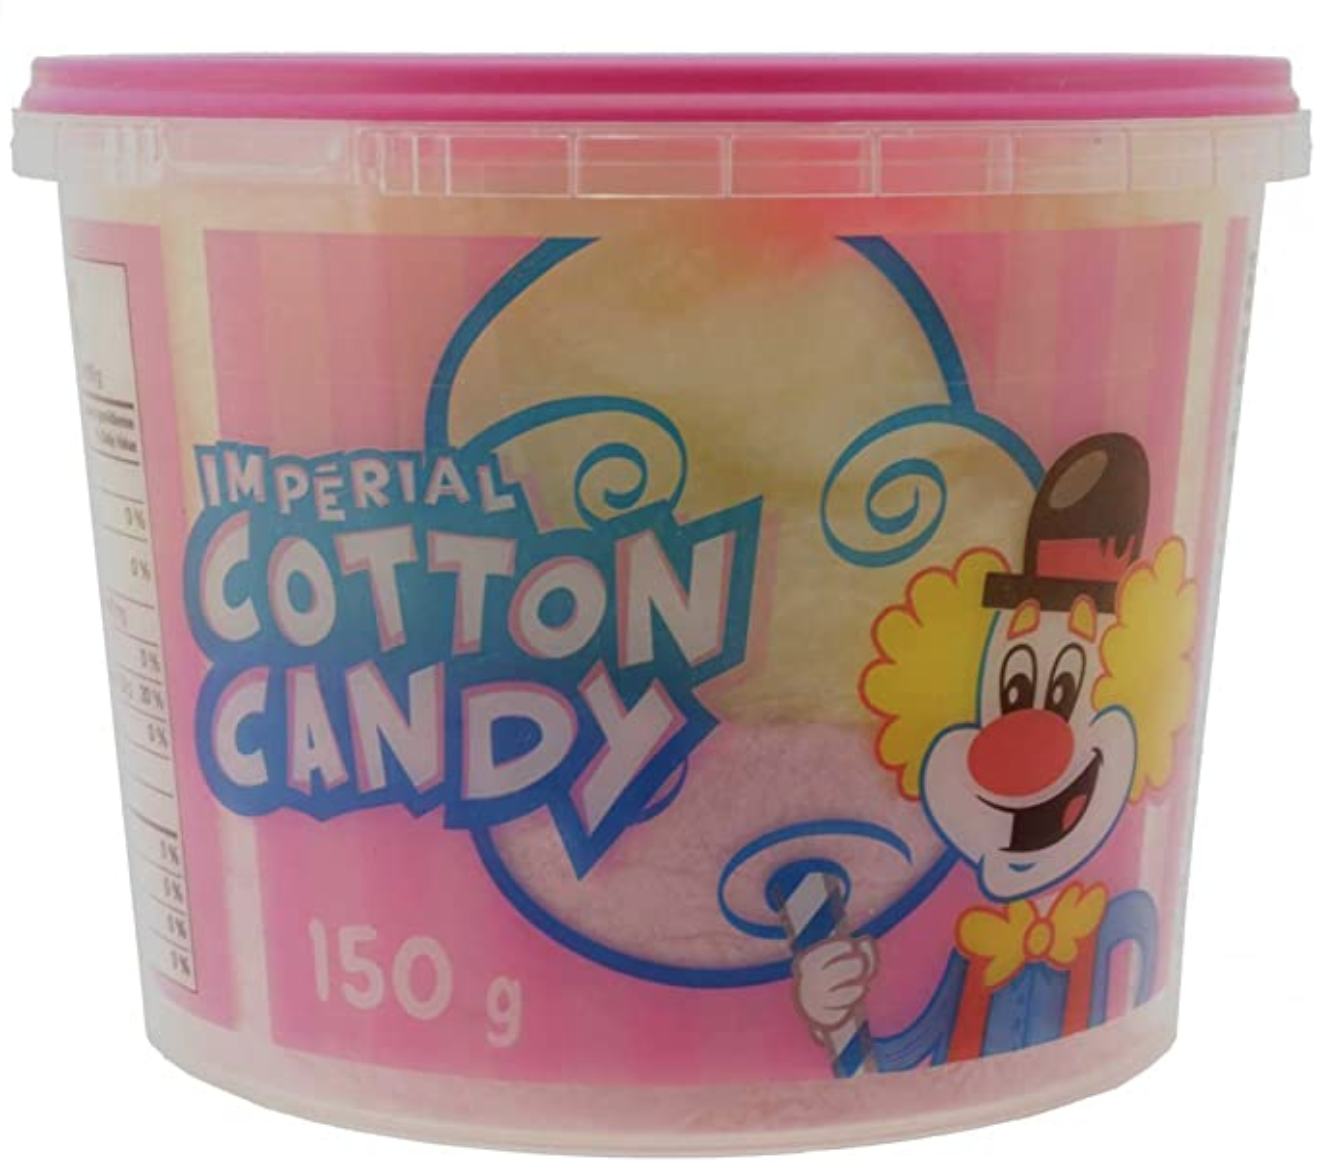
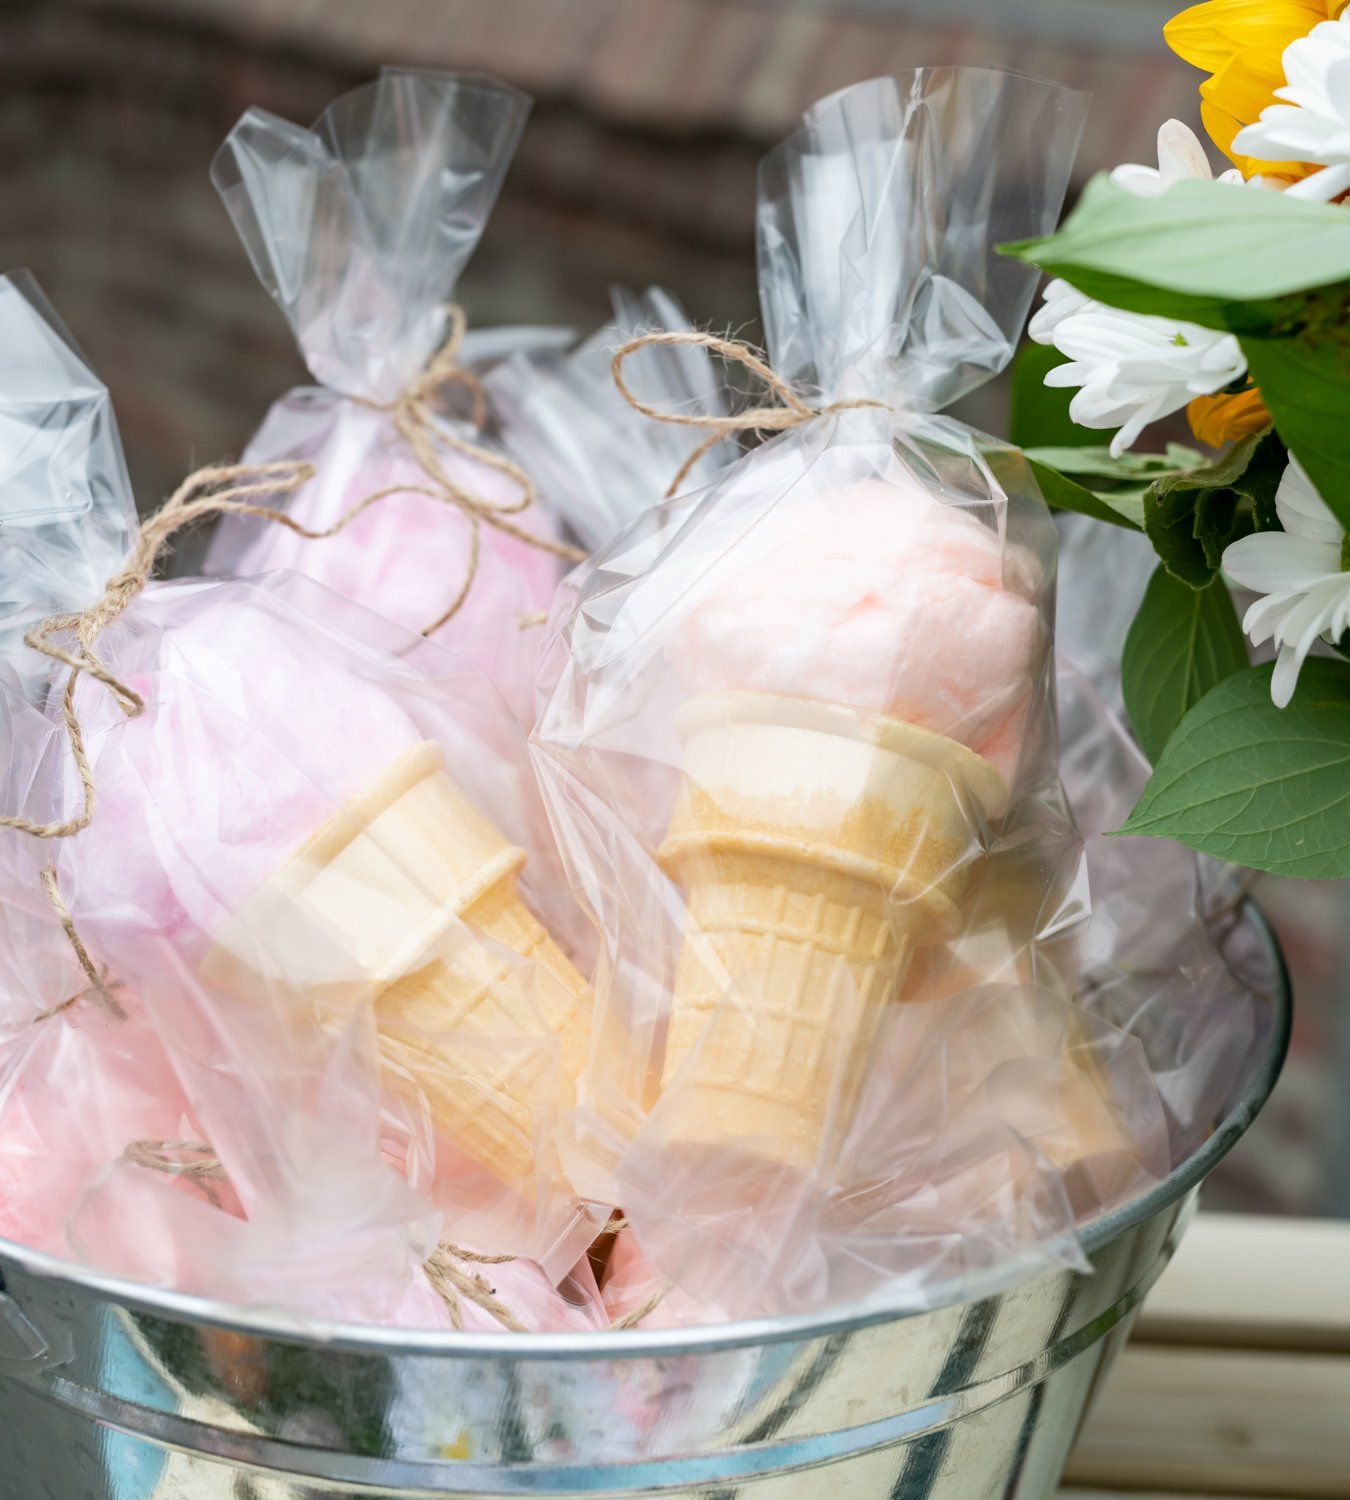
For an easy party favor to send home with the kiddos I grabbed ice cream cones and cotton candy from the grocery store. Take a single cone and a handful of the candy floss, You can roll it gently into a ball and place it on top of the cone. I used clear plastic treat bags and a bit of garden twine to keep them closed. Place in a bin or basket by the door so everyone can grab one on the way out.
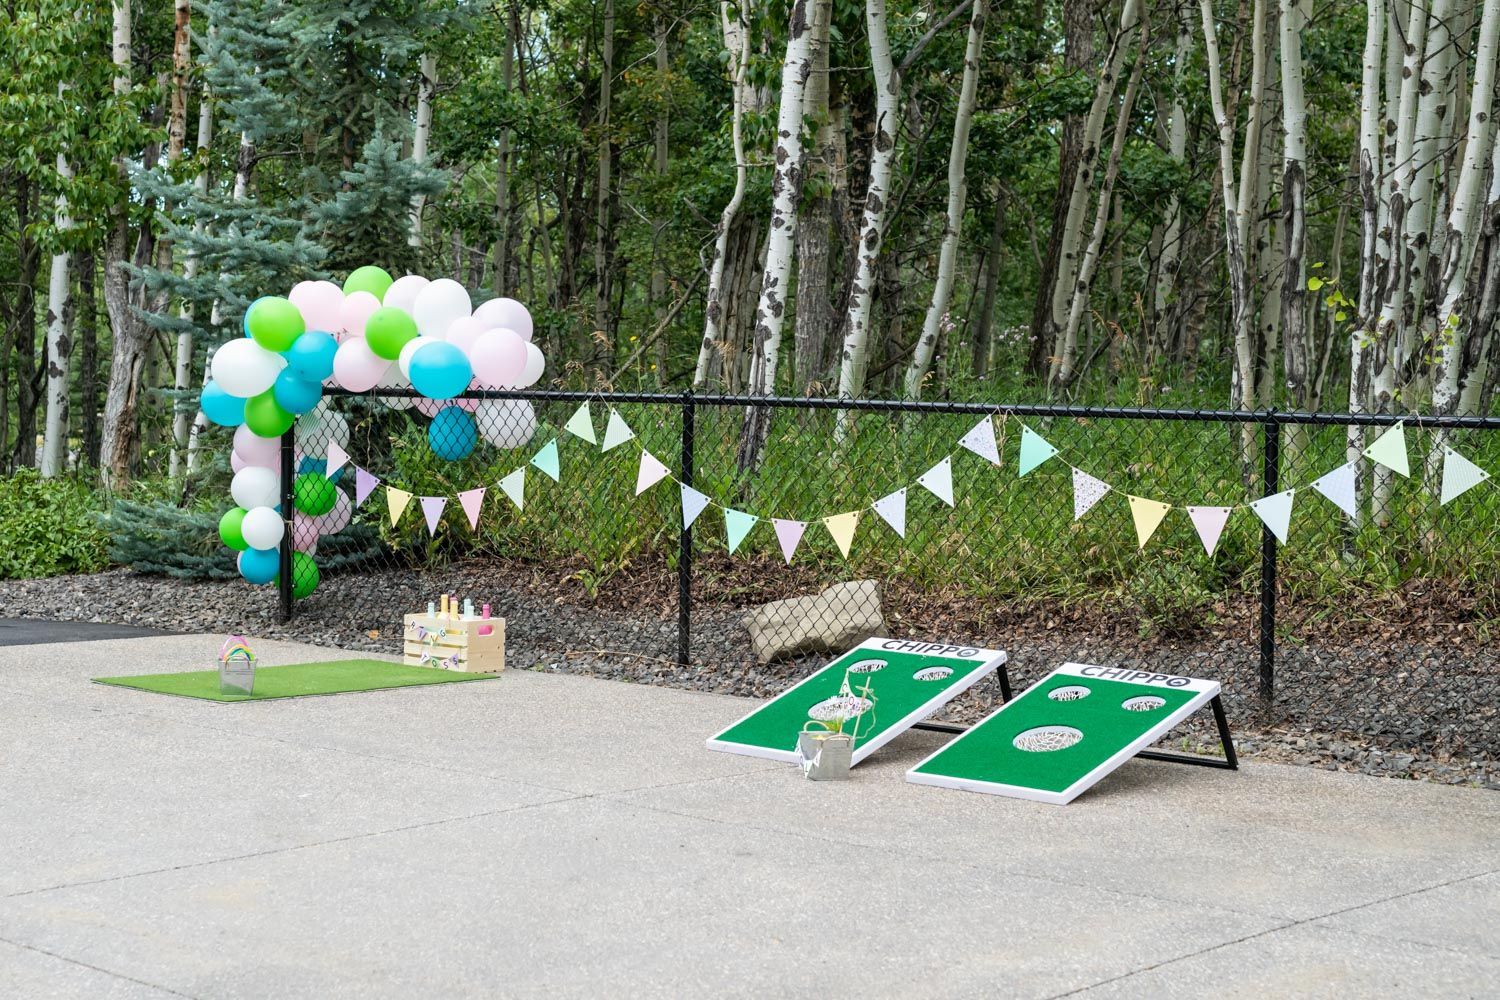
We wanted to offer a handful of games that would be appropriate for all the kids ages that were attending. Both of the options below are easy to pull together, and the kids had a blast playing the games.
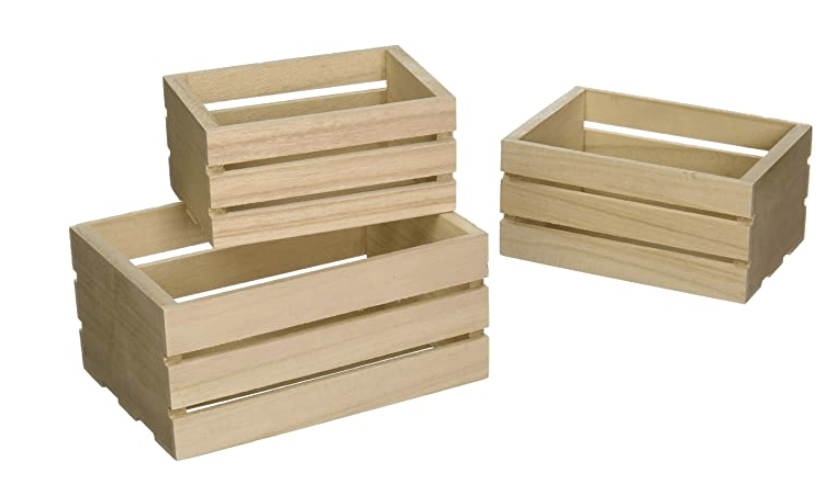
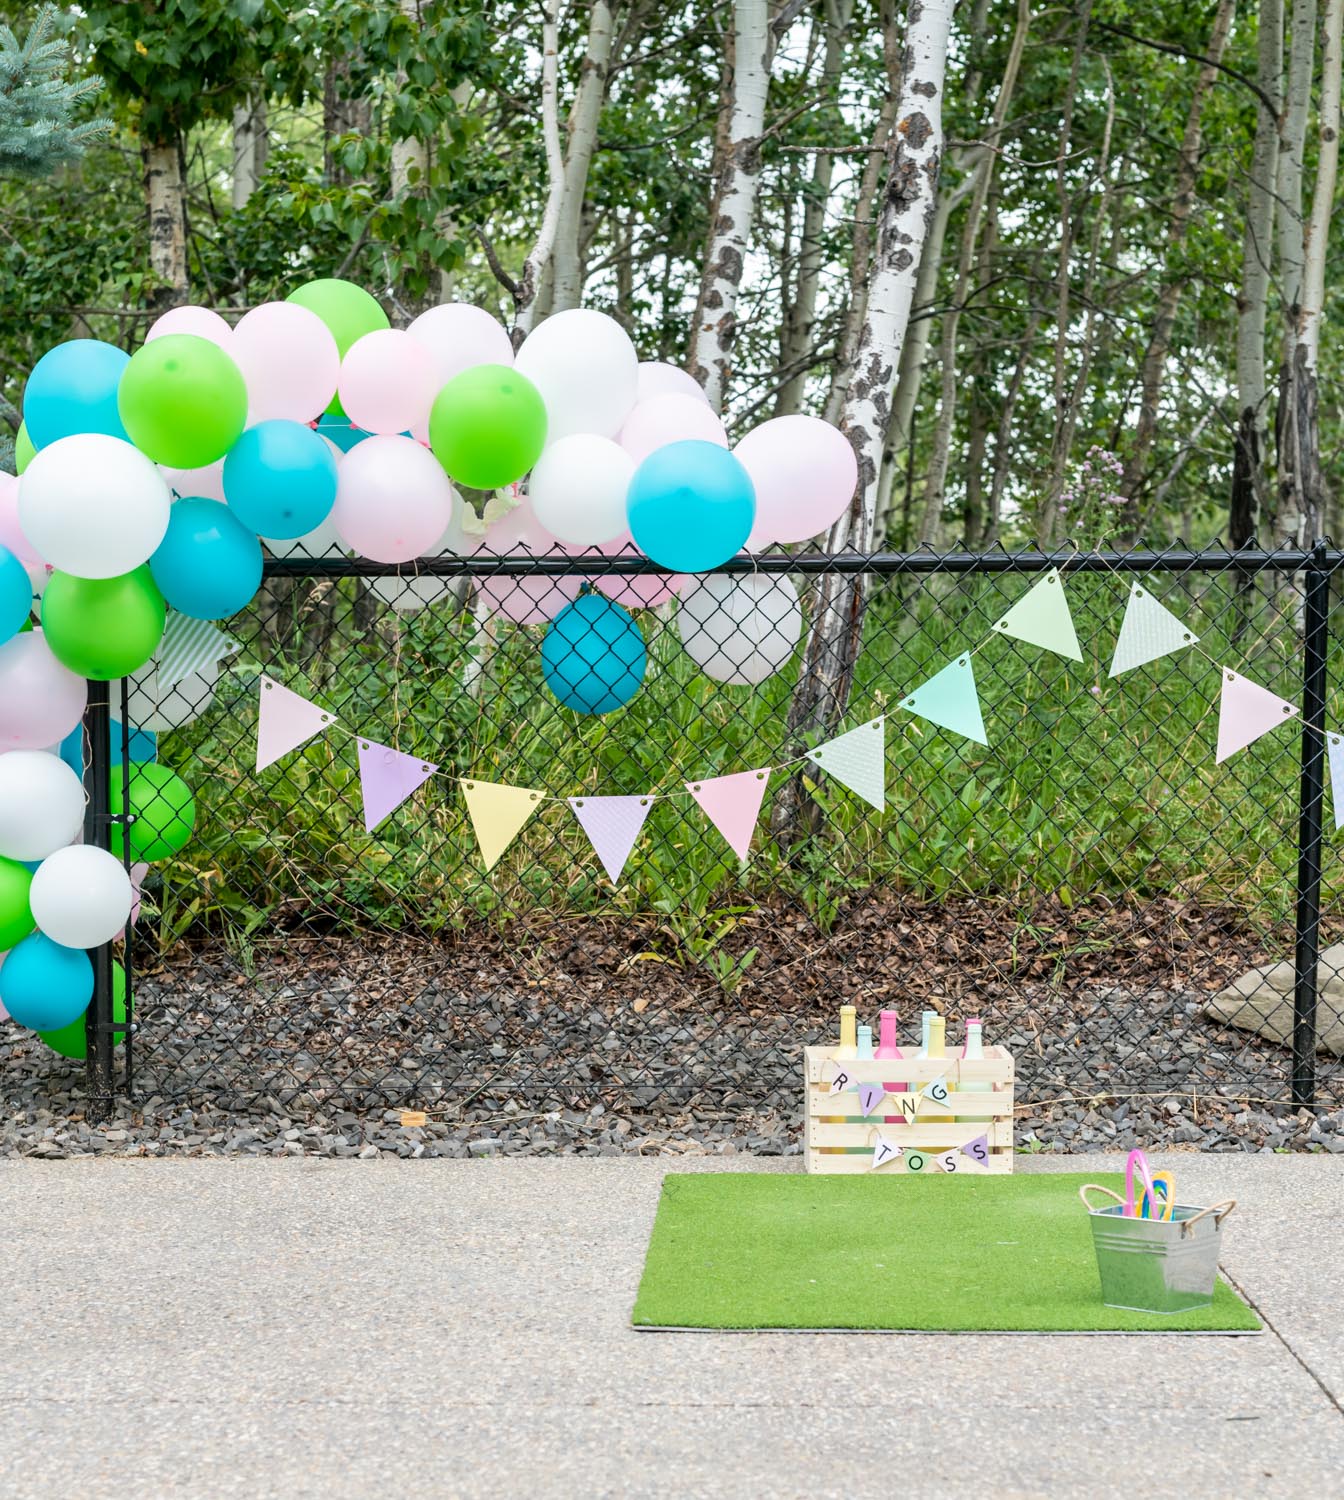
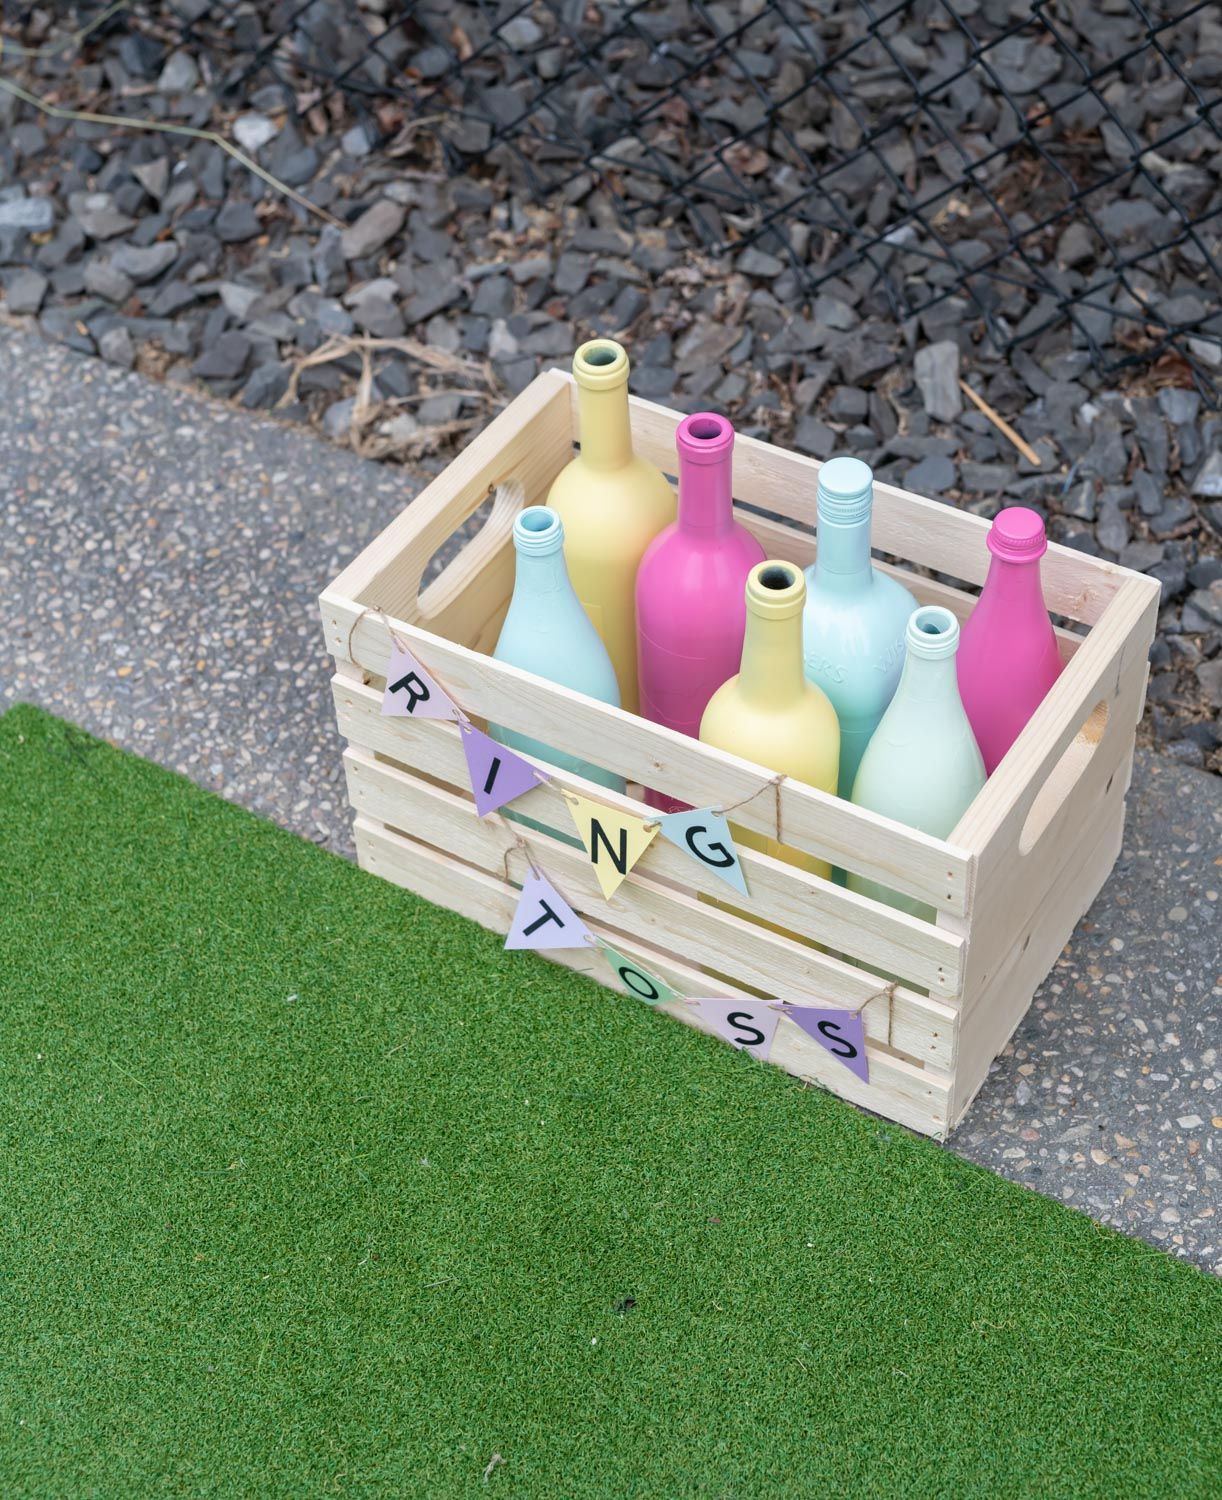
- DIY Ring Toss - I purchased the wood crate from a hardware store and then rounded up some wine and spirits bottles from our recycling bin. A few cans of spray paint dressed up the bottles to fit our theme and some toy rings I found in the pet section at the dollar store. An easy game that the kids all loved for under $15.
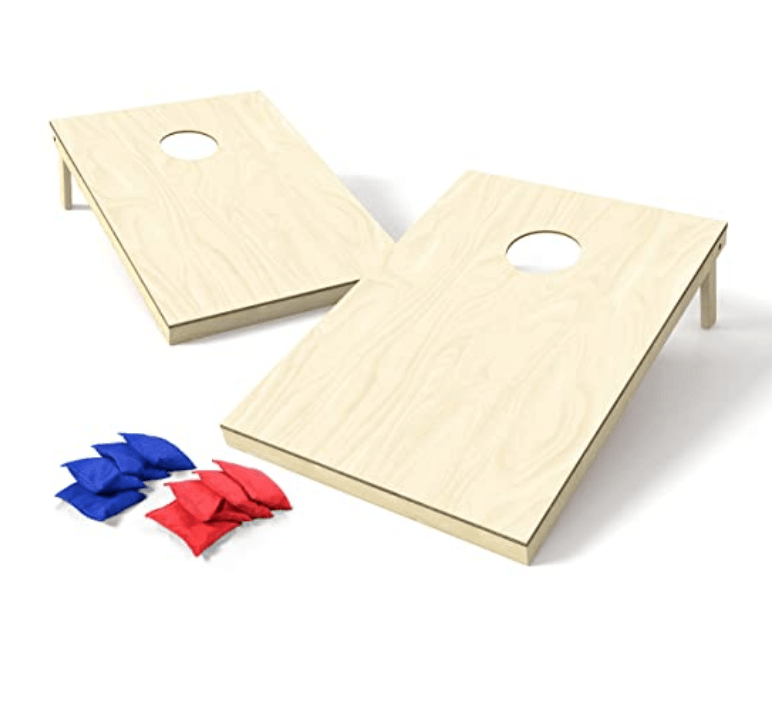
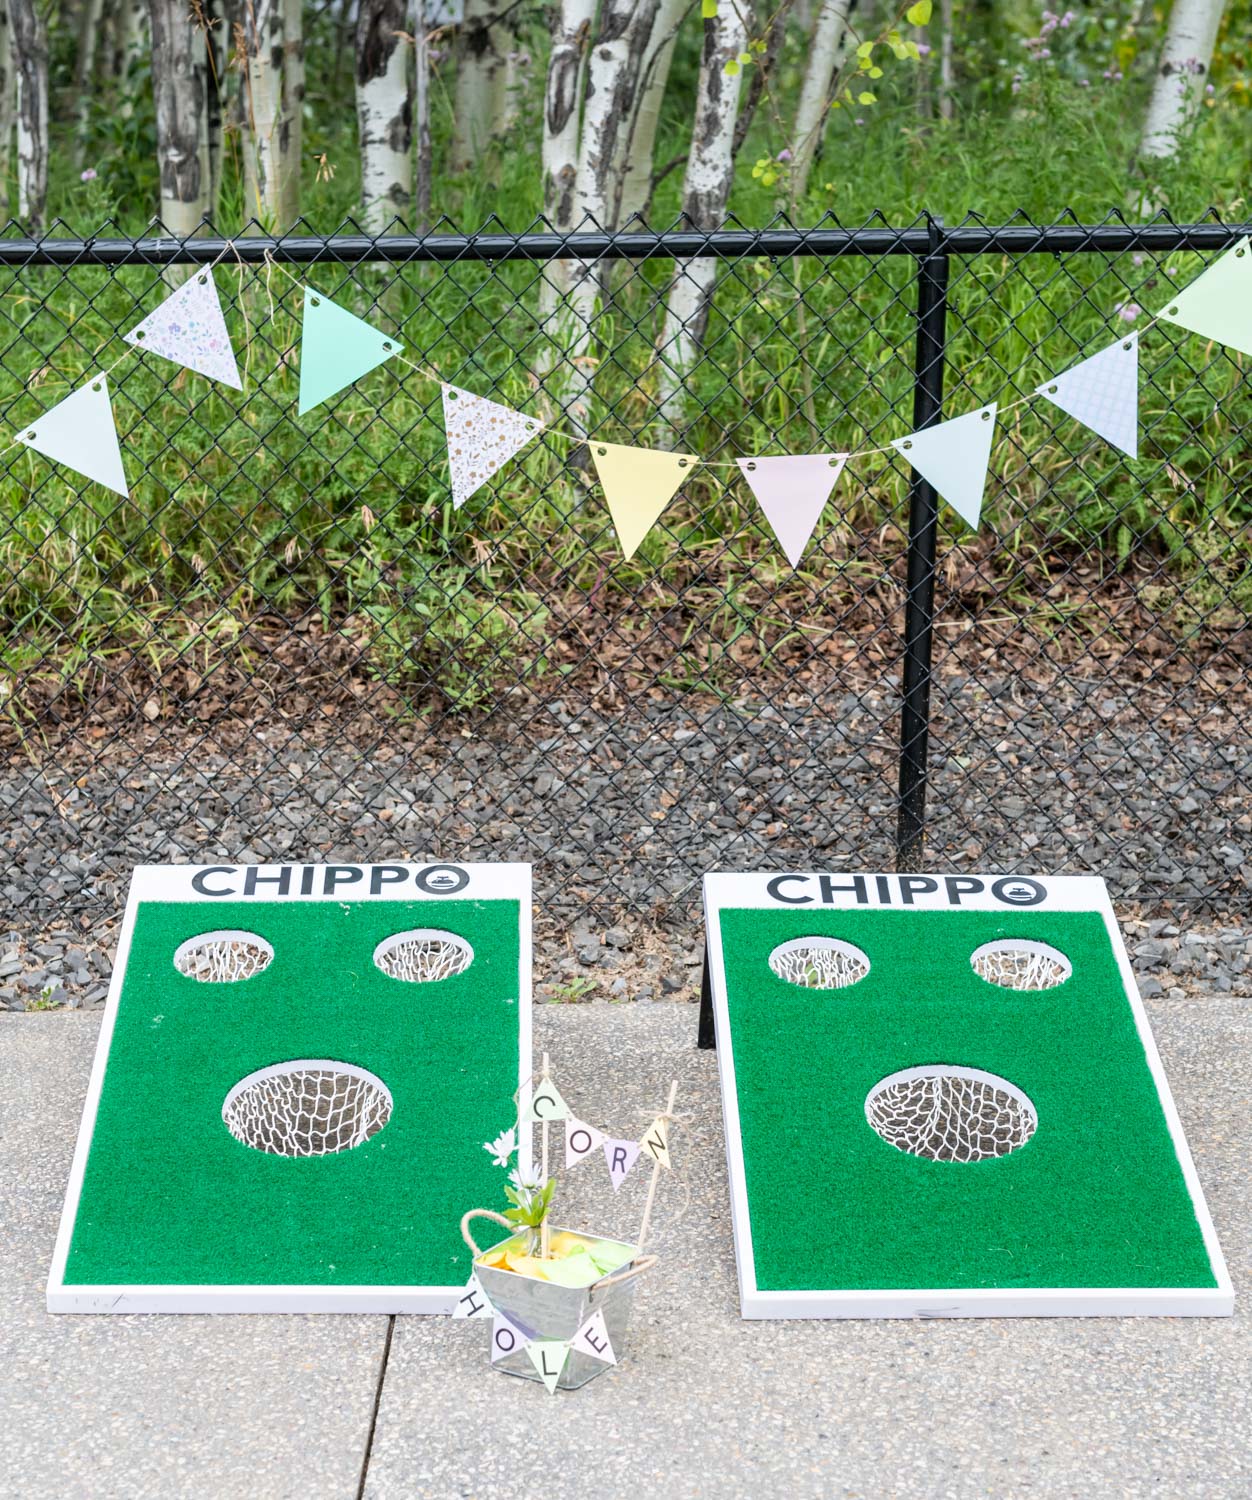
- Corn Hole - We already had these Chippo boards so I purchased a set of bean bags and a cute bin and we were ready to play!
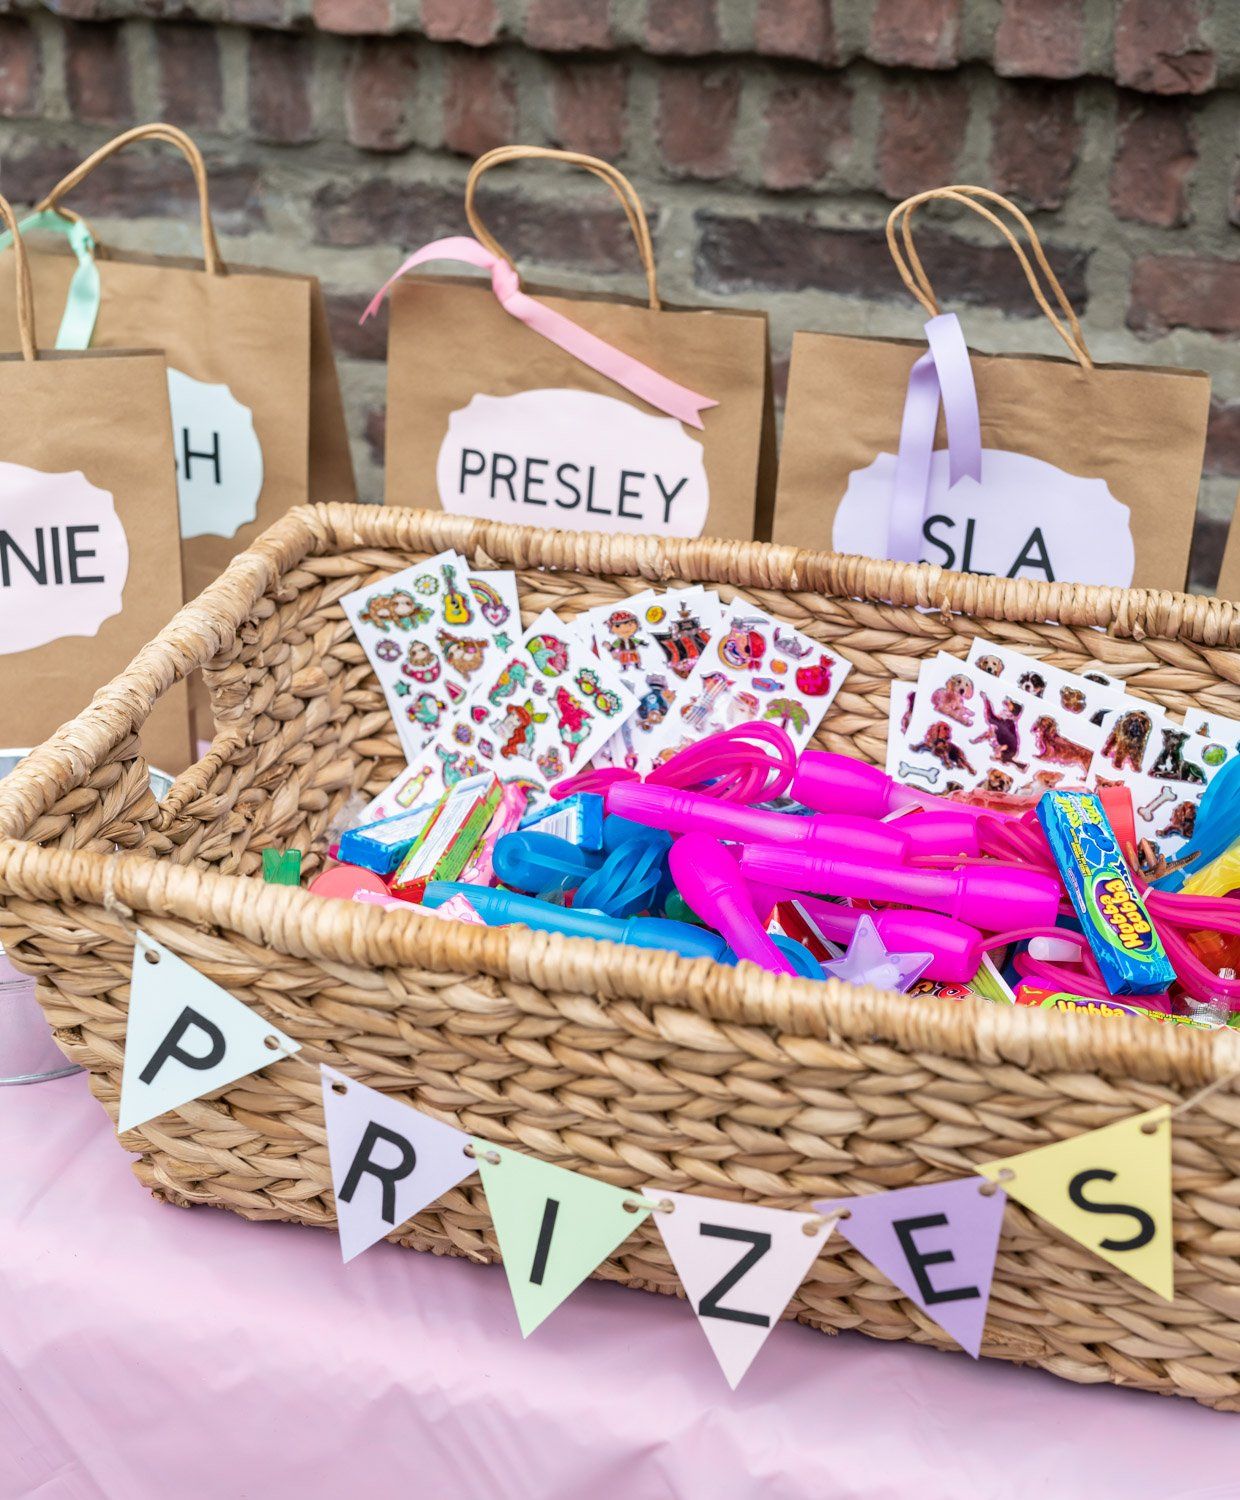
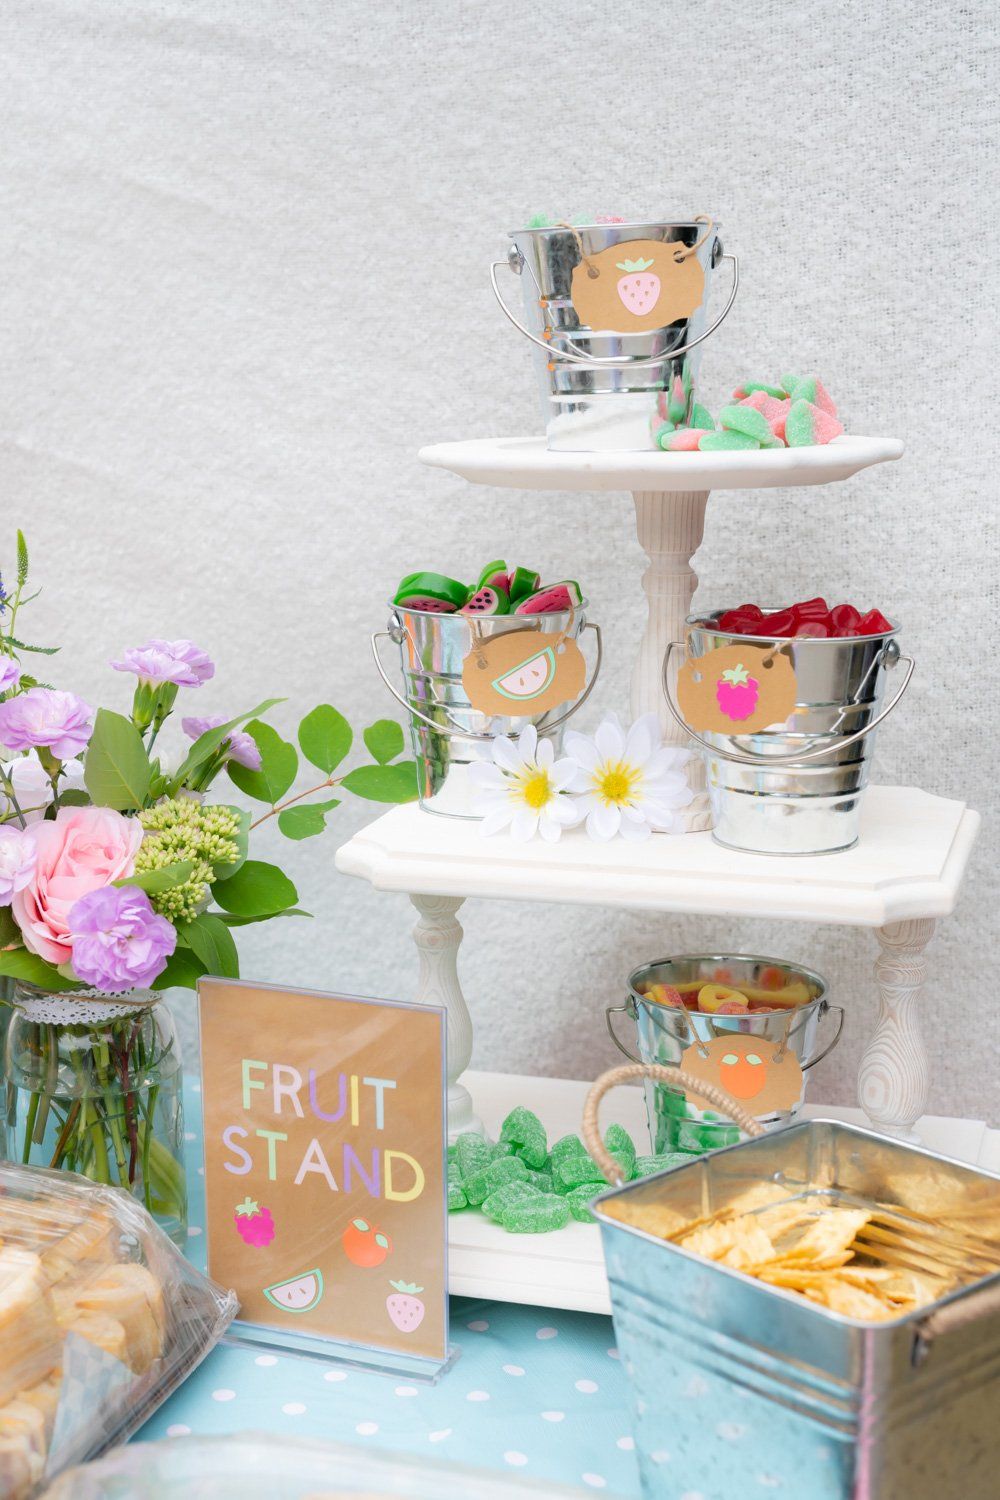
My favorite part of going to the fair as a kid was always the prizes, So i loaded up on candy, glow sticks, bubbles, jump ropes and stickers from the dollar store. The kids got to dig through and choose the prizes they wanted at the end of each game. We labelled the brown paper bags with each child's name so they could add their prizes inside and then take the whole bag when they left. This was such a fun way to send them off with a personalized thank you for coming.
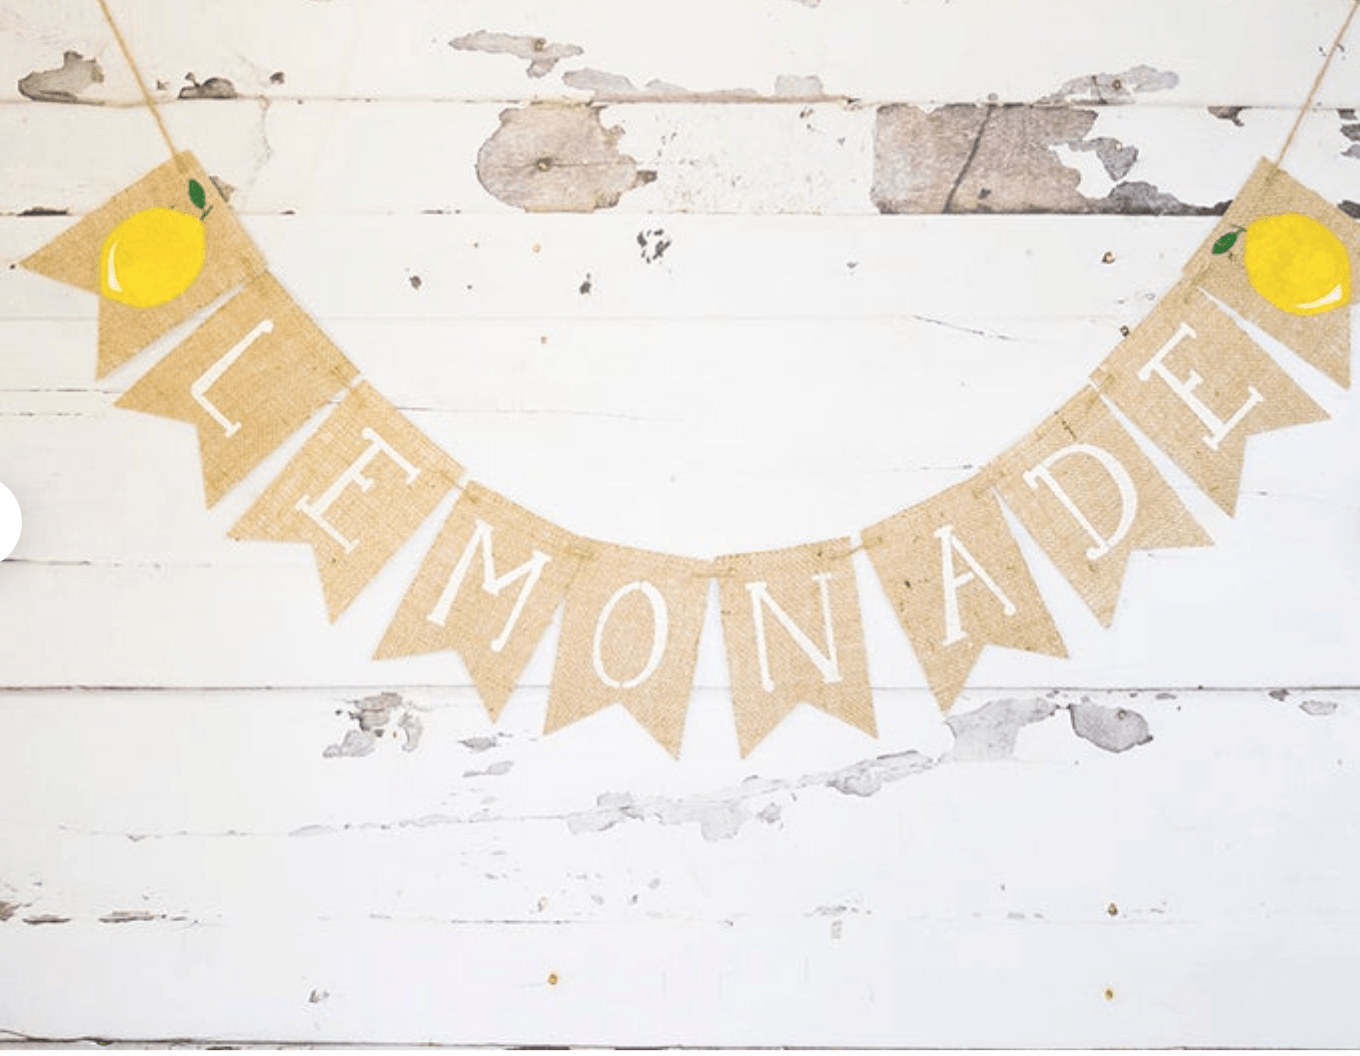
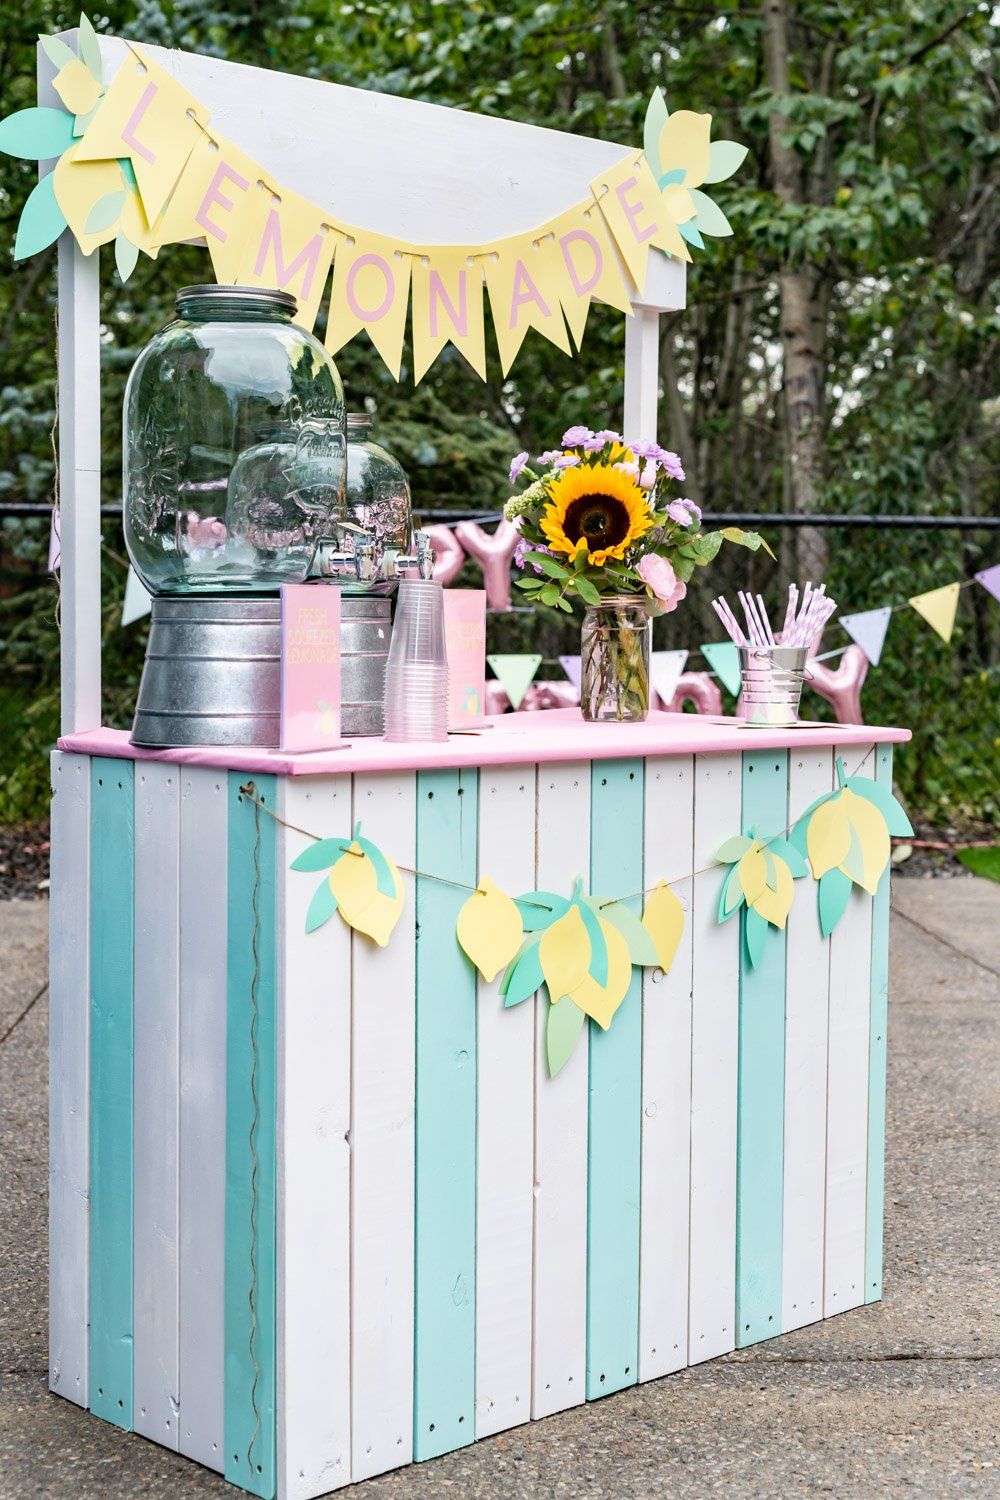
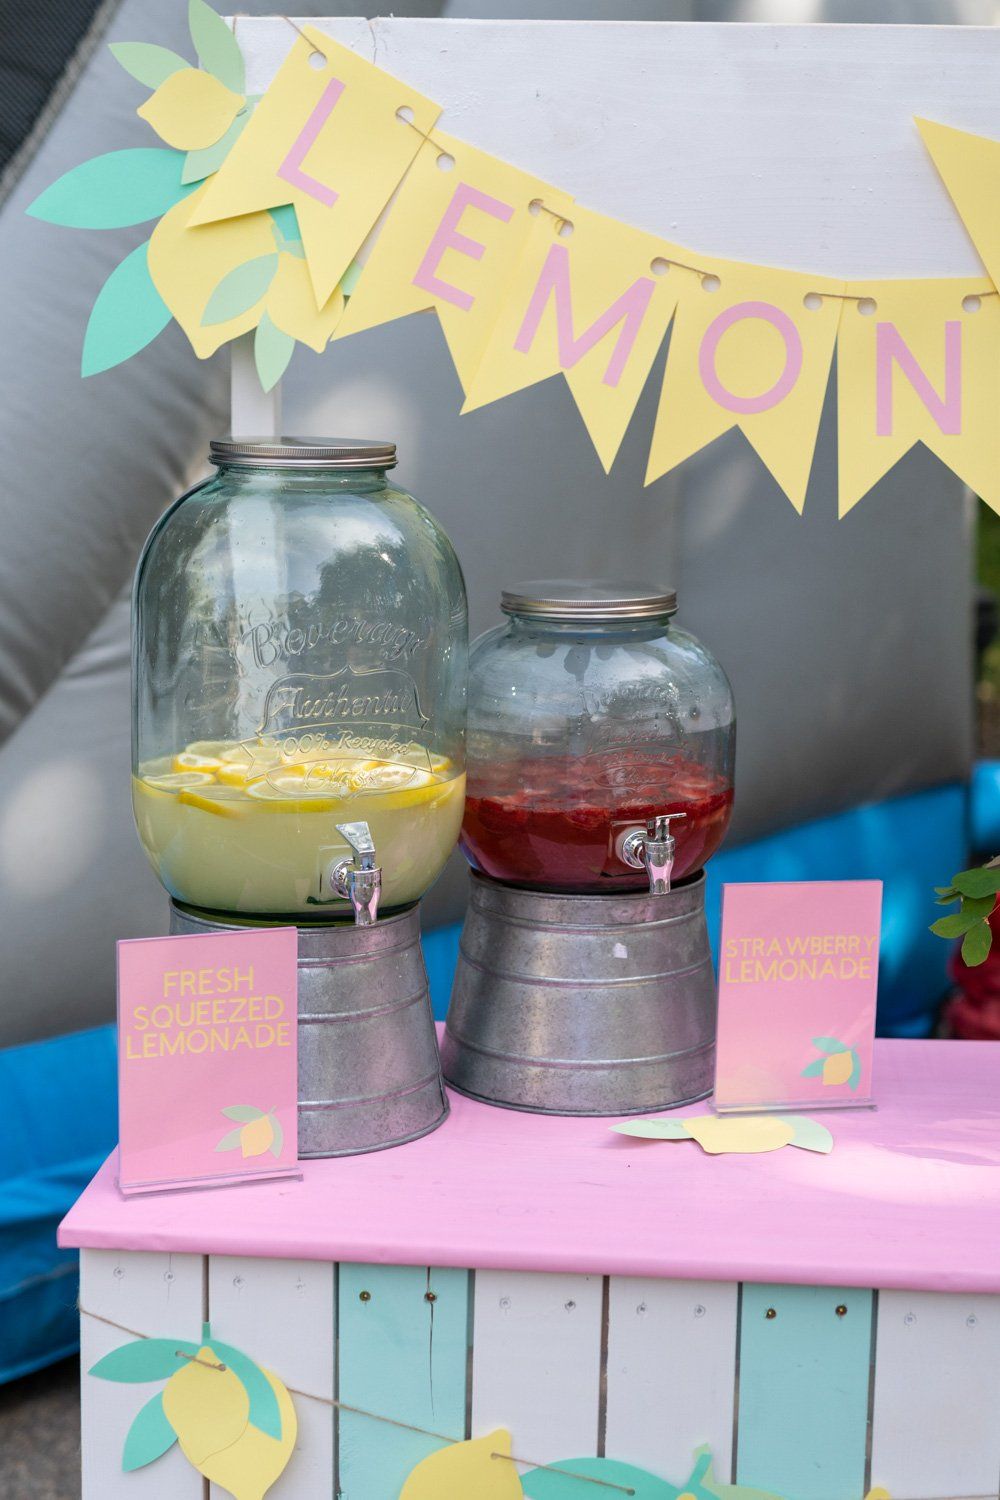
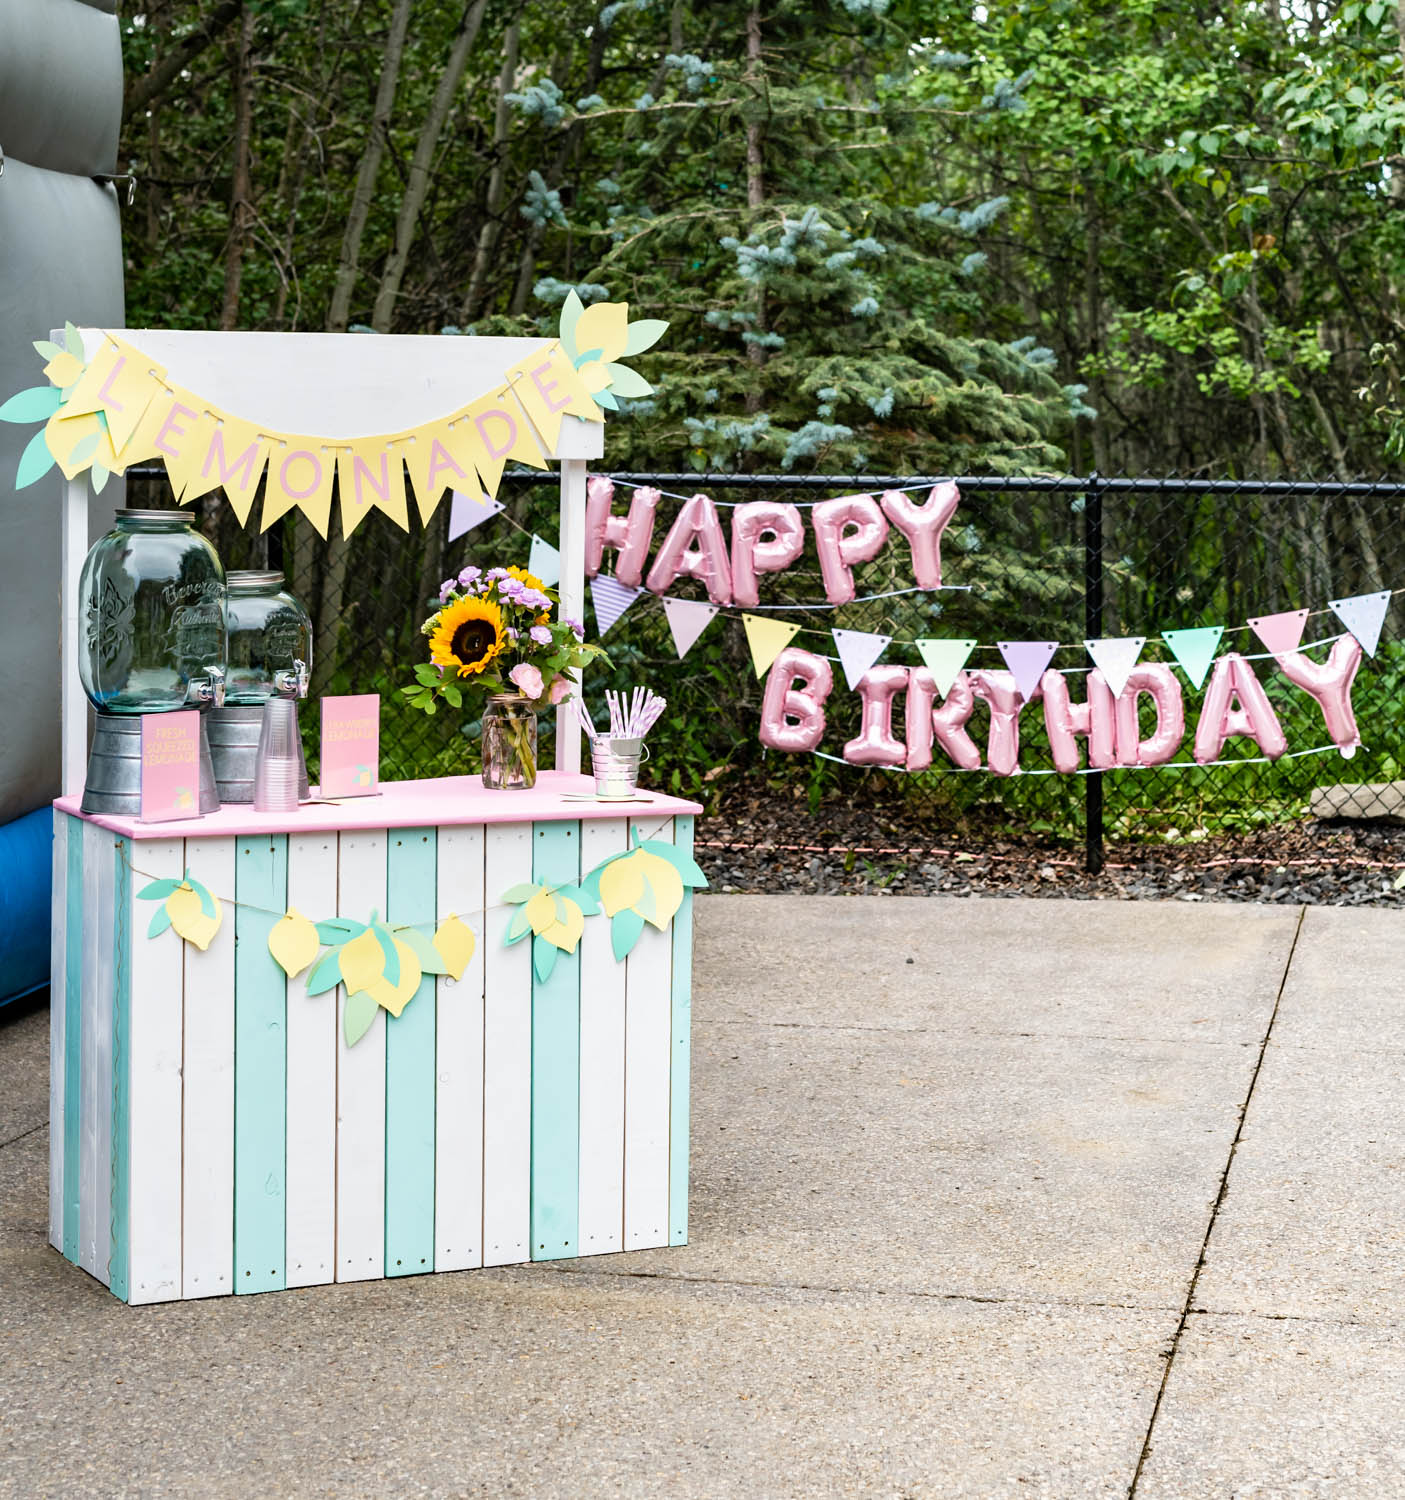
I really wanted to set up little food stands, just like a country fair. My husband thought I had really lost it this point so we settled on one. He built me this simple wood stand by making a frame out of 2x4s and securing 1x4 boards to the face of it. We screwed them in so that I could remove random ones and paint them a different color.
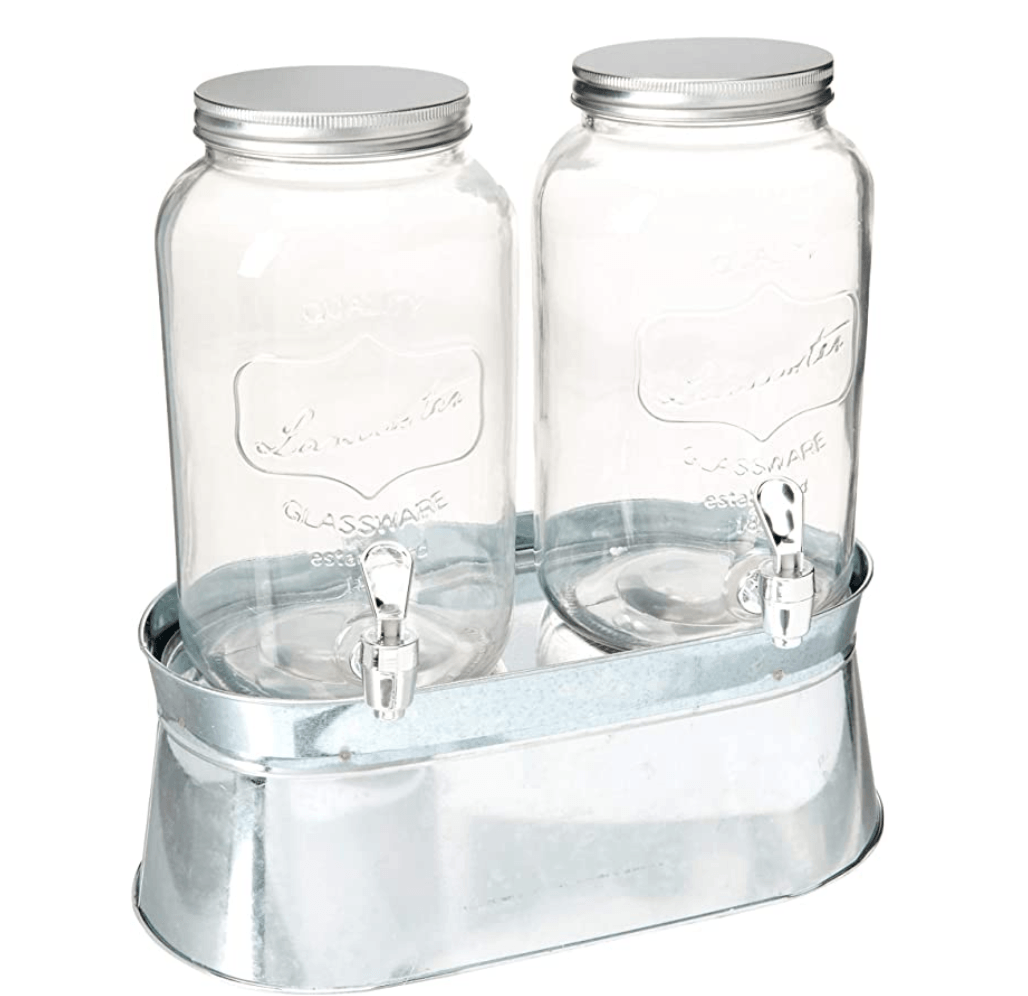
The top sign is made of 2x2s and a 2x10 board across the top as a place to add the lemonade sign. A quick sand and I spray painted the whole thing using white spray paint. The countertop is a piece of plywood that I wrapped with a pink plastic table cloth from the dollar store, which made it easy to clean up all the spilled lemonade at the end of the party. We created the cute banner and bunting using a Cricut Machine and colorful cardstock paper from the craft store. This was all scrap wood in the garage so the only cost was the paint and the kids loved filling up their cups after a good bounce in the bouncy castle.
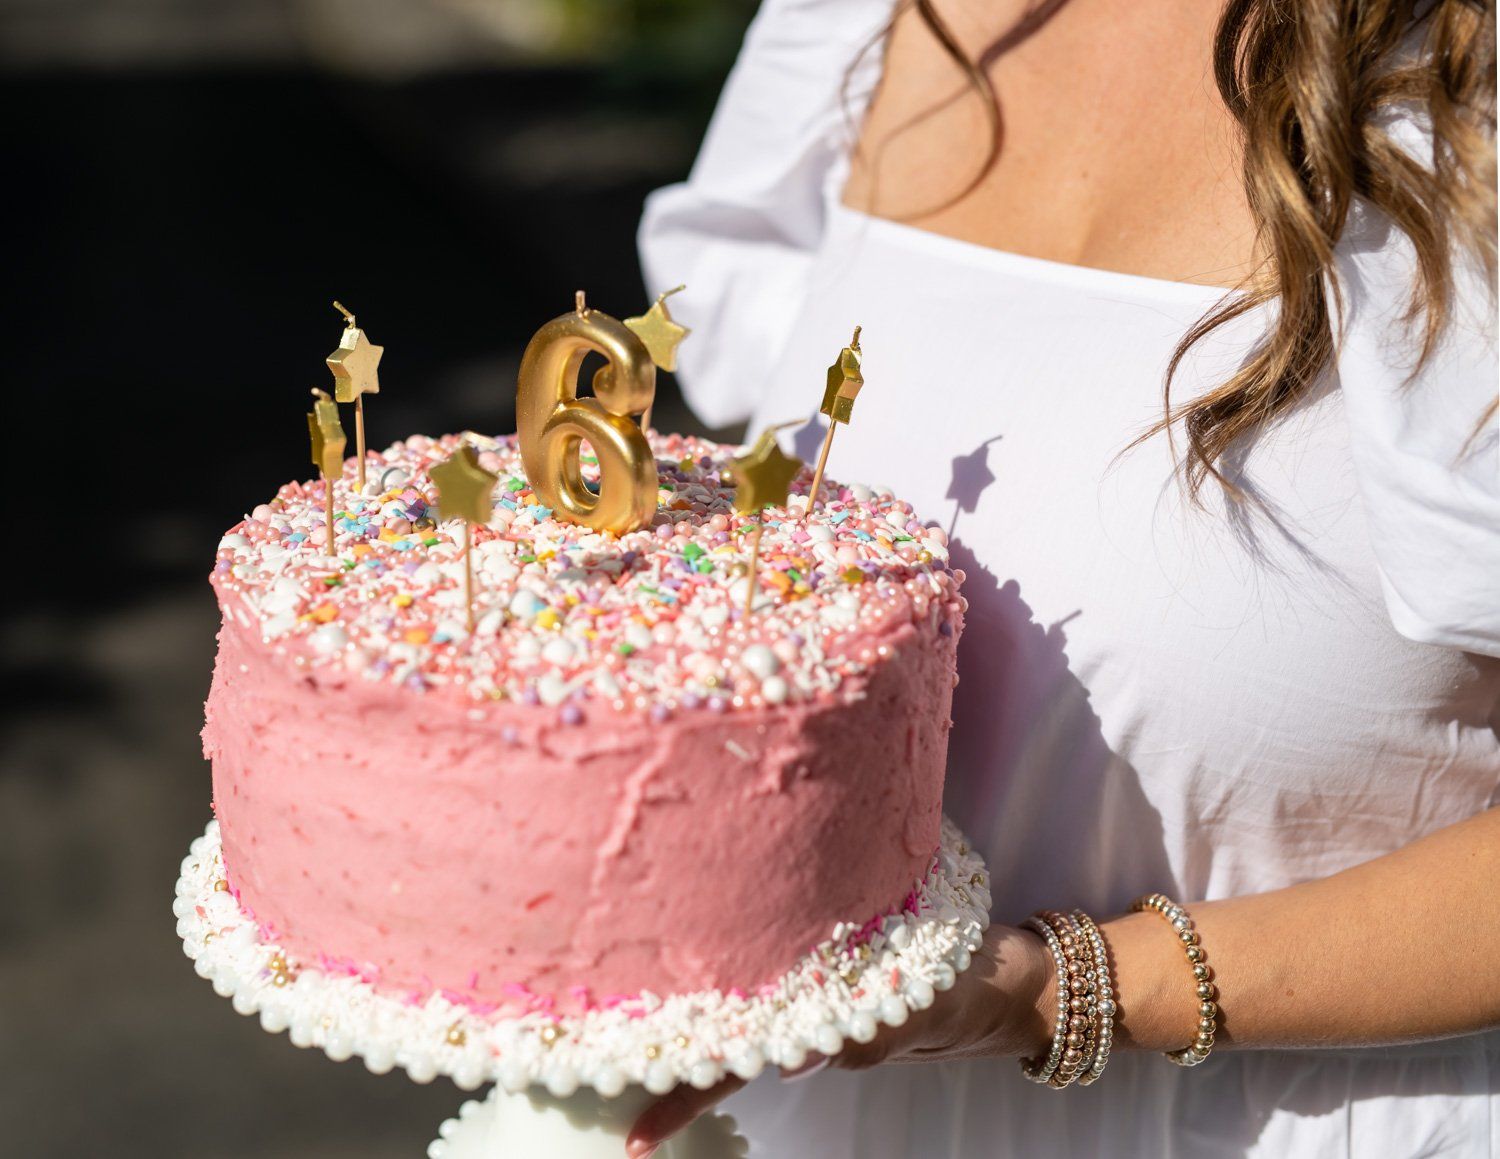
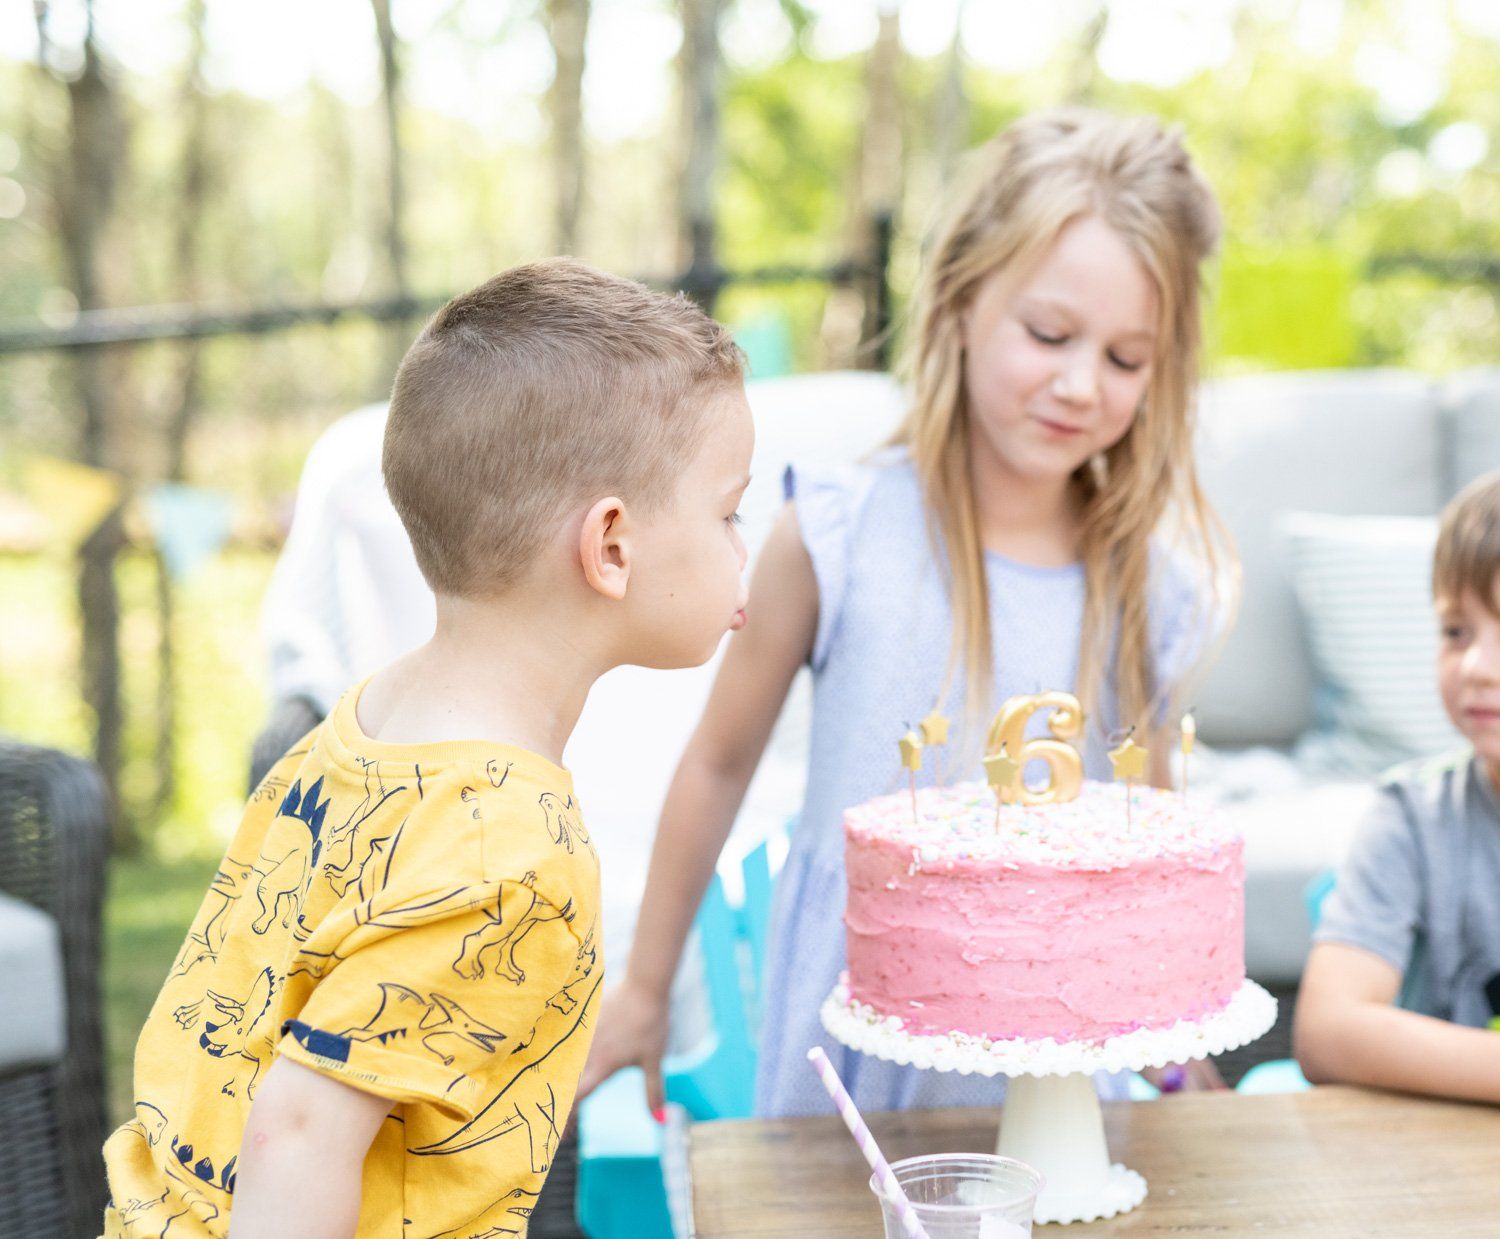
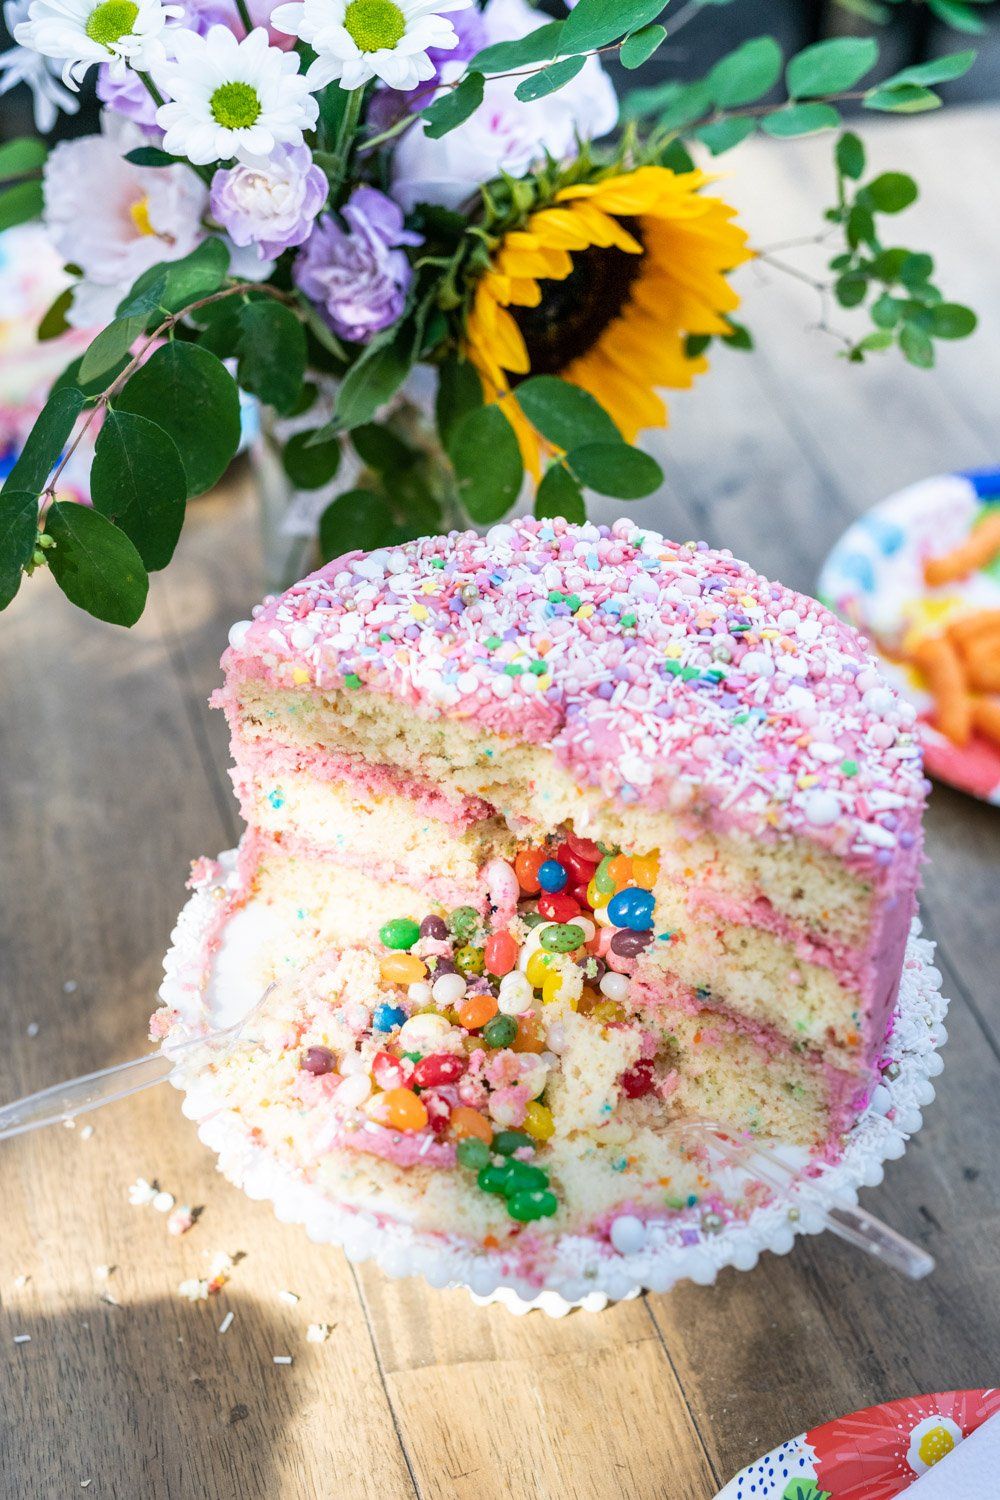
Piñata Cake
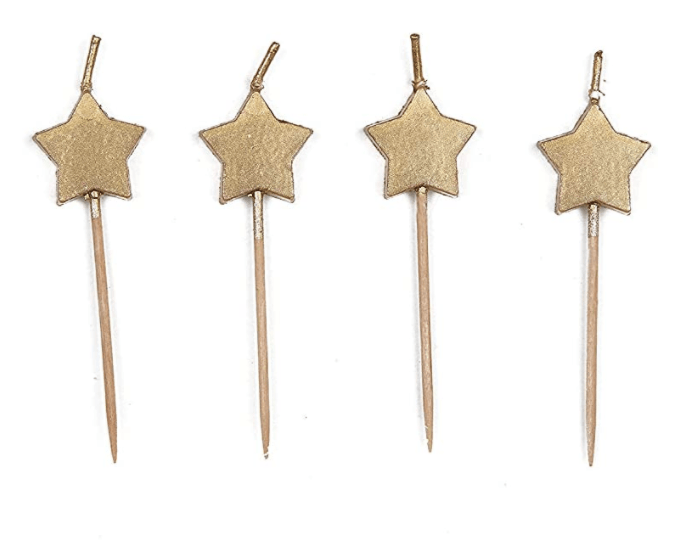
Winn requested a piñata cake this year and at first I had no idea what she even meant! She carefully explained to me that its just a cake full of candy....ok then. I used a cake box mix for the confetti cake from my local store and used three of the four cakes I baked. Using a biscuit cutter I cut the center out of the bottom two layers and added the strawberry buttercream icing for the layers. Once you have the two bottom layers iced and stacked you just fill in the center with the candy of your choice – we used mini jellybeans – add the top layer and ice the rest of the cake. I kept it really simple with a top full of sprinkles and some cute gold candles.
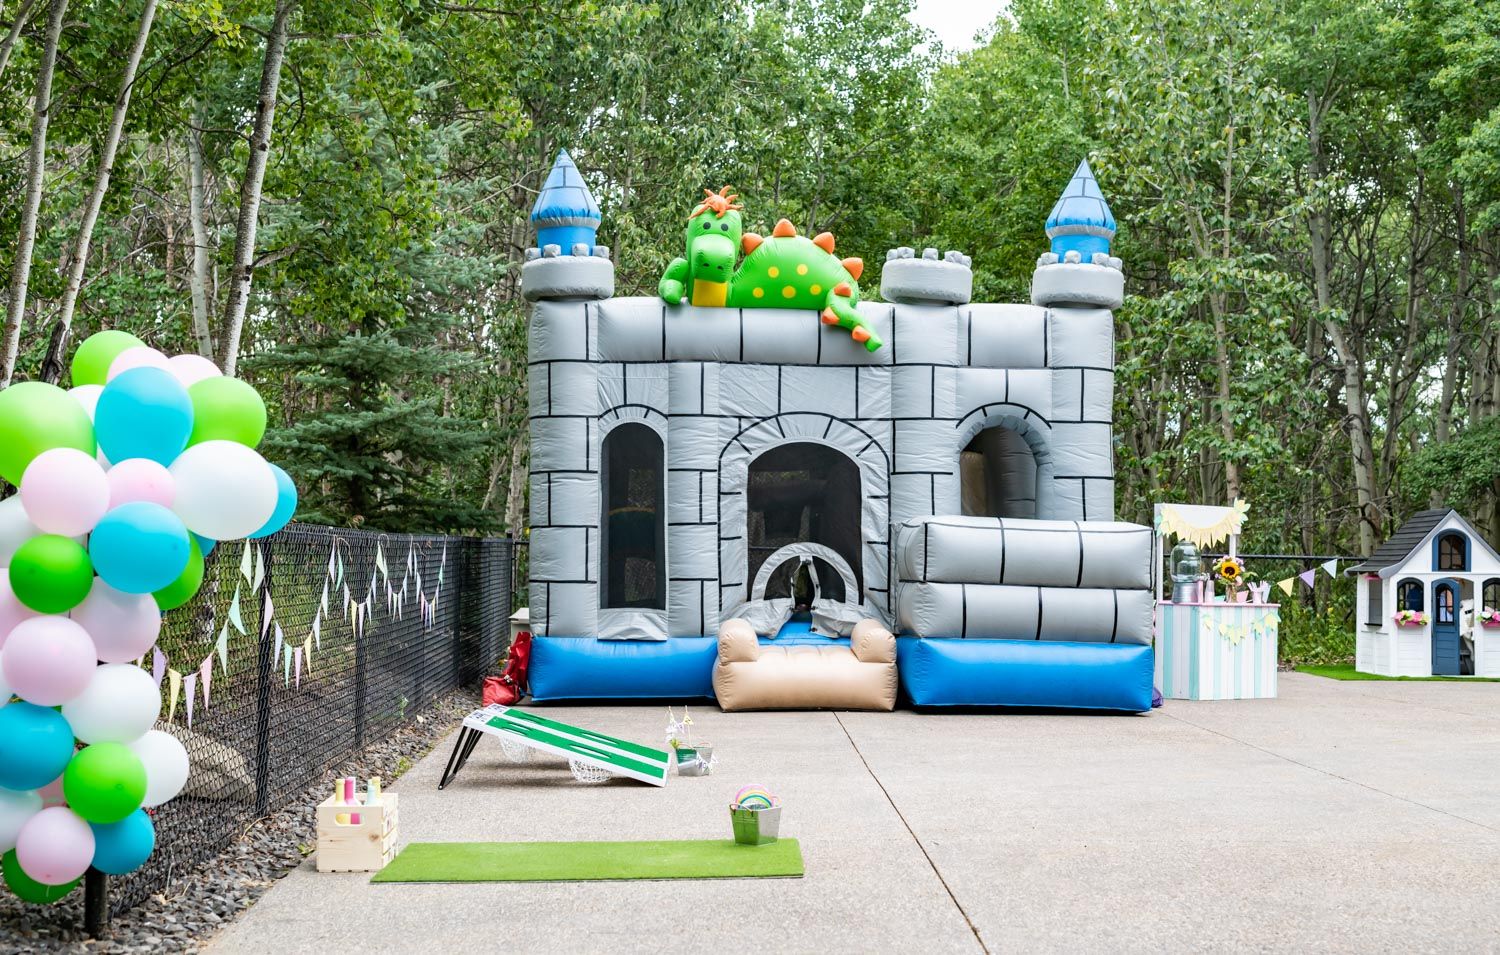
The kids are obsessed with bouncy castles whenever we go to events or fairs, so we had to rent one for the day. Honestly, it was such a hit and the kids more than burned off all those sweets jumping away. The castle design was so cute and this particular one has a large slide, basket ball hoop, and a rainbow tunnel inside. If you are local, contact www.bouncytown.ca and check out their full selection online; they have lots of other fun sizes and designs to fit your event!
Shop this post below: