DIY Faux Fiddle Leaf Fig Tree
February 11, 2020
As far as house plants are concerned, fiddle leaf fig trees are all the rage.
And it’s no wonder; they are rather impressive with their small trunk and oversized leaves. Unfortunately, they are tricky to keep alive and can be quite the investment. If you’ve ever gone to your local garden center on the hunt for one, you might have been as shocked as I was at the price tag! I don’t mind investing in things for my home that make a big statement but with the added requirement of keeping it alive, I decided the price tag wasn’t worth the risk.

So, I started looking for some good faux options that would give me the look I was after without the stress. If you are like me and lack the green thumb or the confidence for a real tree, then this simple DIY is for you. Here's how I took an inexpensive and basic faux tree and made it look as good as the real thing.
Supplies you will need:
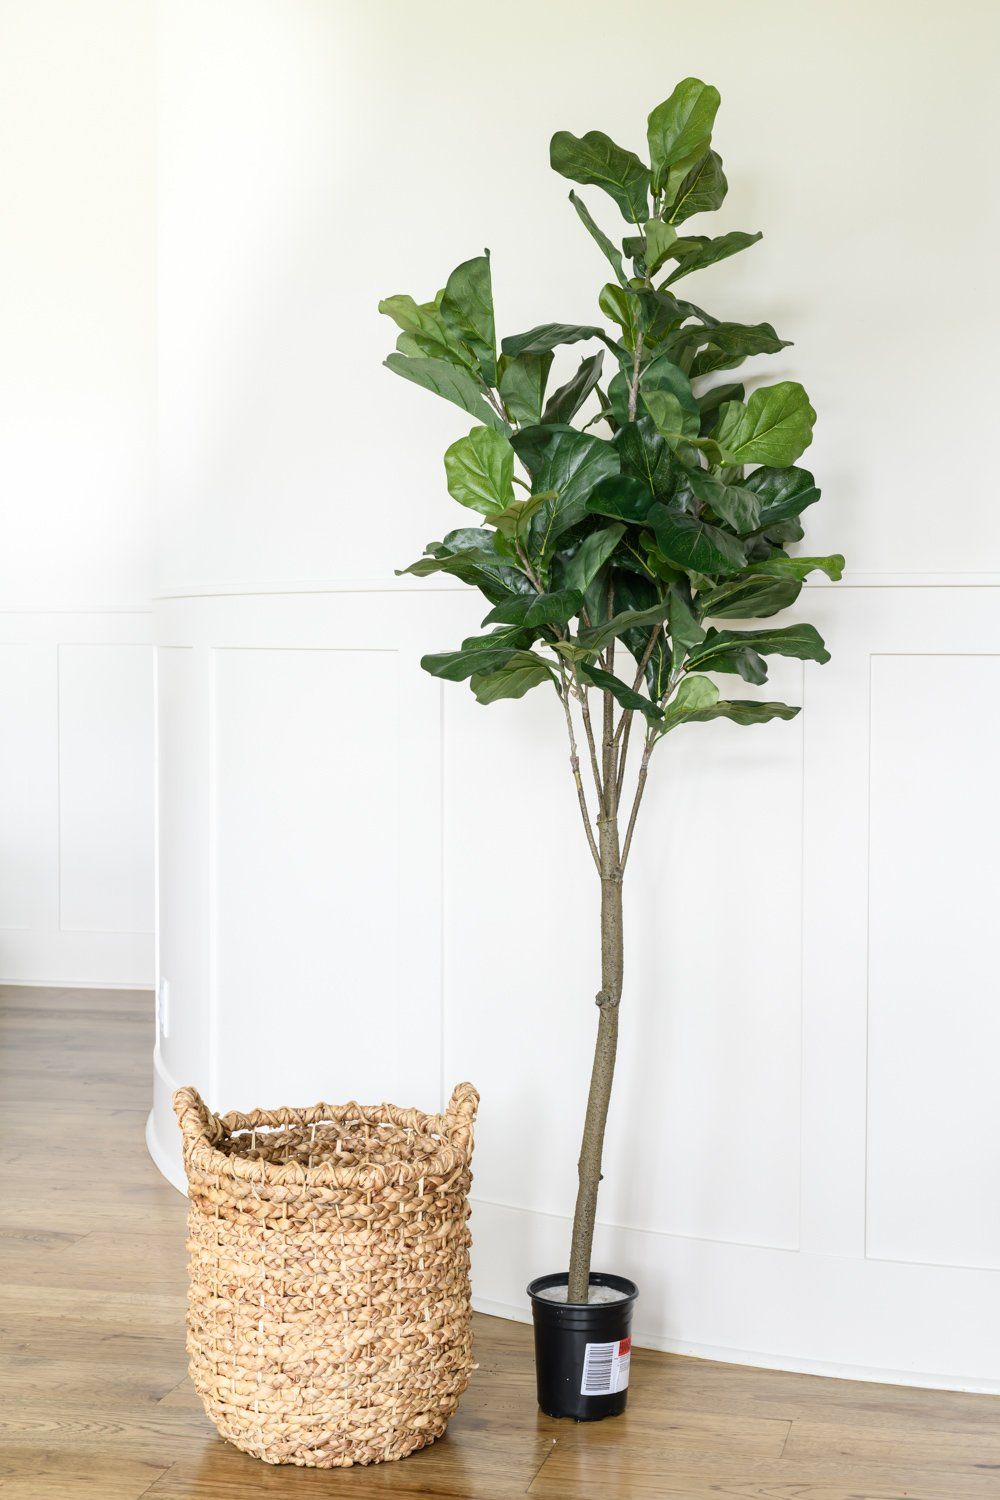
- Faux tree of your liking (this DIY will work for any kind of tree). Here's an alternative version on Amazon.
- Basket or pot of your choice
- Great Stuff Foam
- Black acrylic paint
- Glue gun
- Preserved moss
- Gloves
I’ve linked some of my favorites for you in the list above.
Step #1
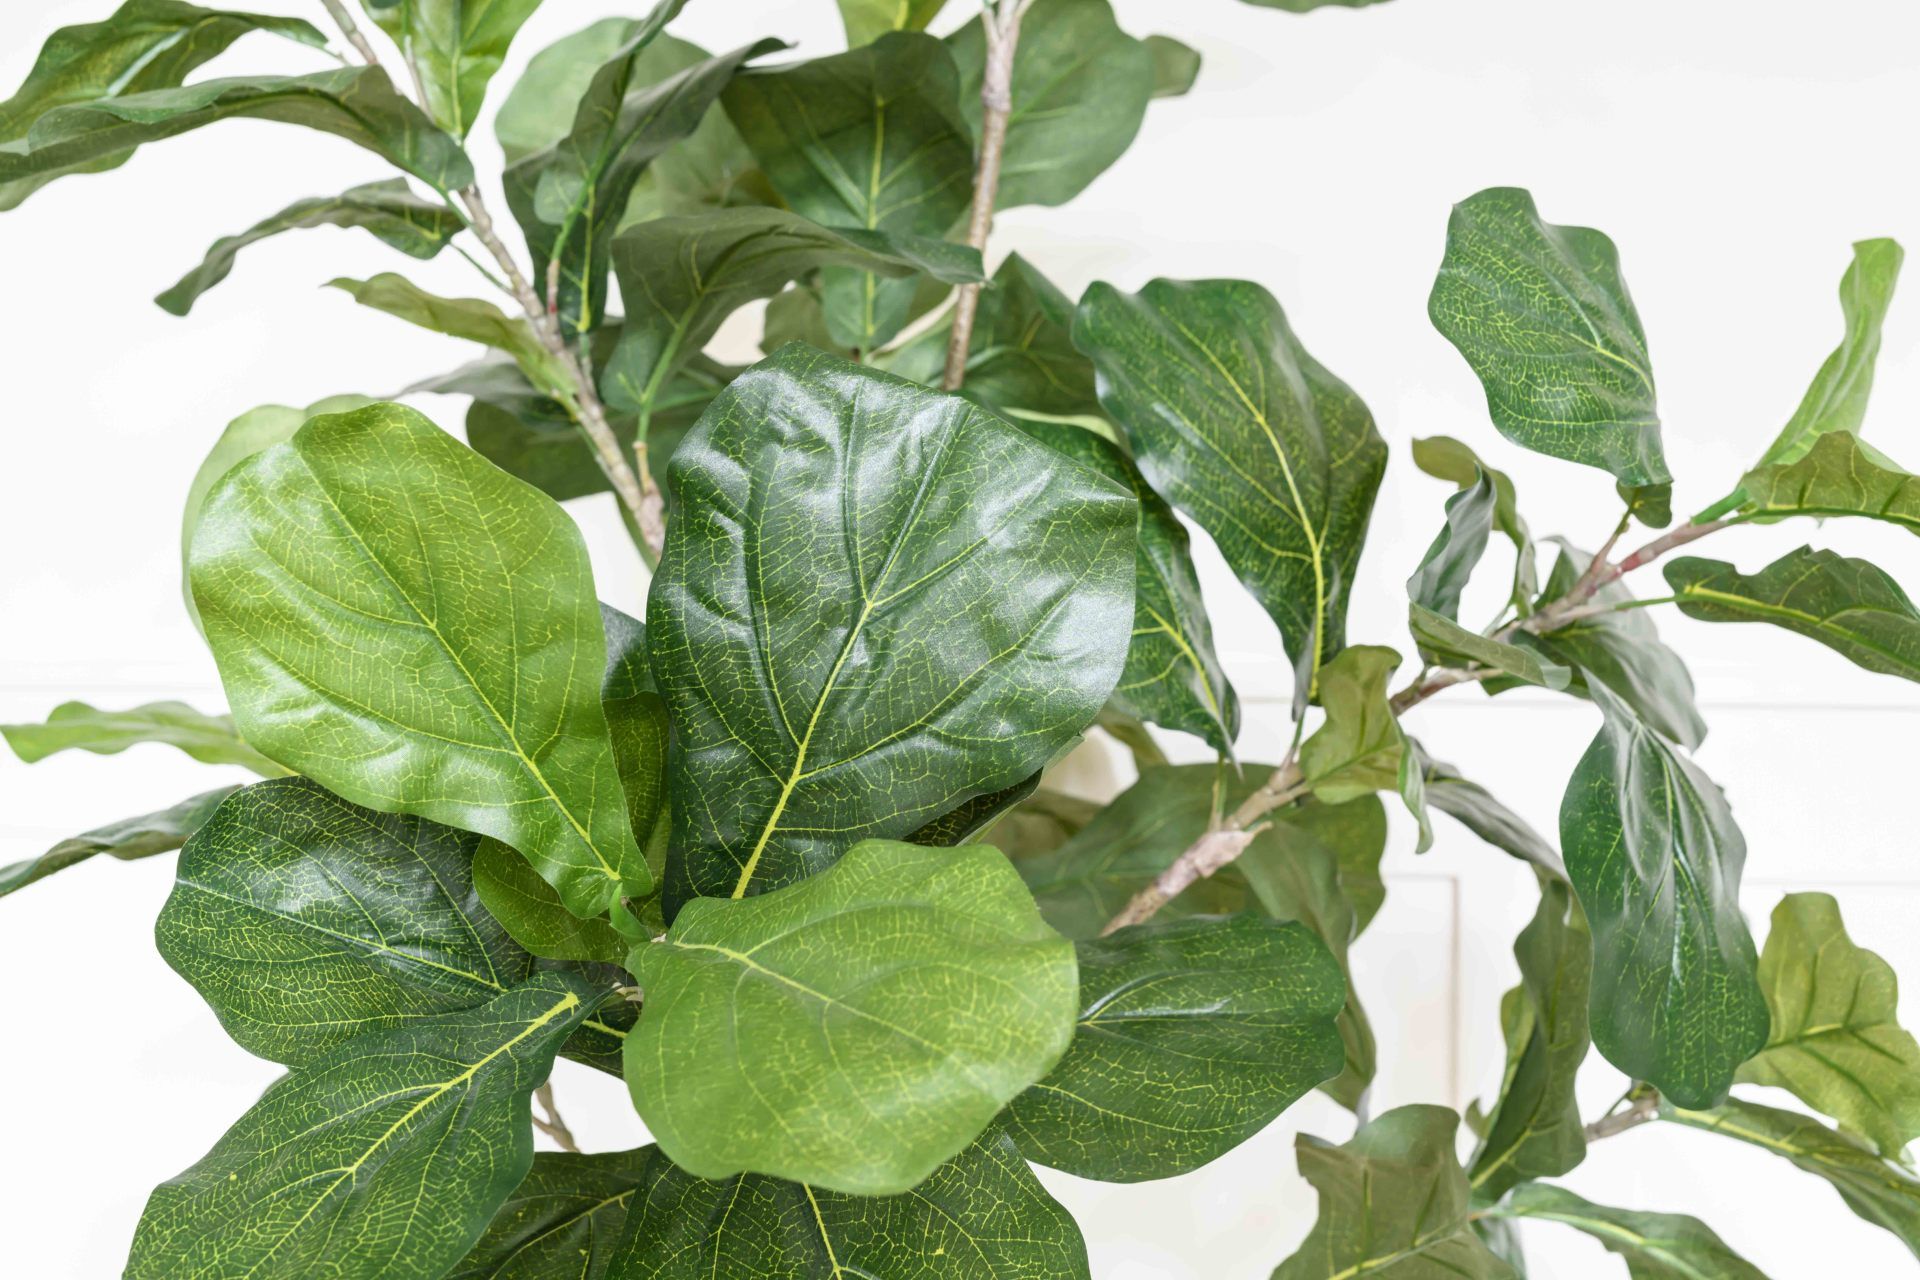
Fluff that tree up. Depending on where you purchased your faux tree from, chances are it has been stored in a box. Gently pull apart all the branches and spread apart each leaf; bend and mold the leaves to give them a more natural look. You can see from these photos what a difference this makes in creating a more realistic looking plant.
Step #2
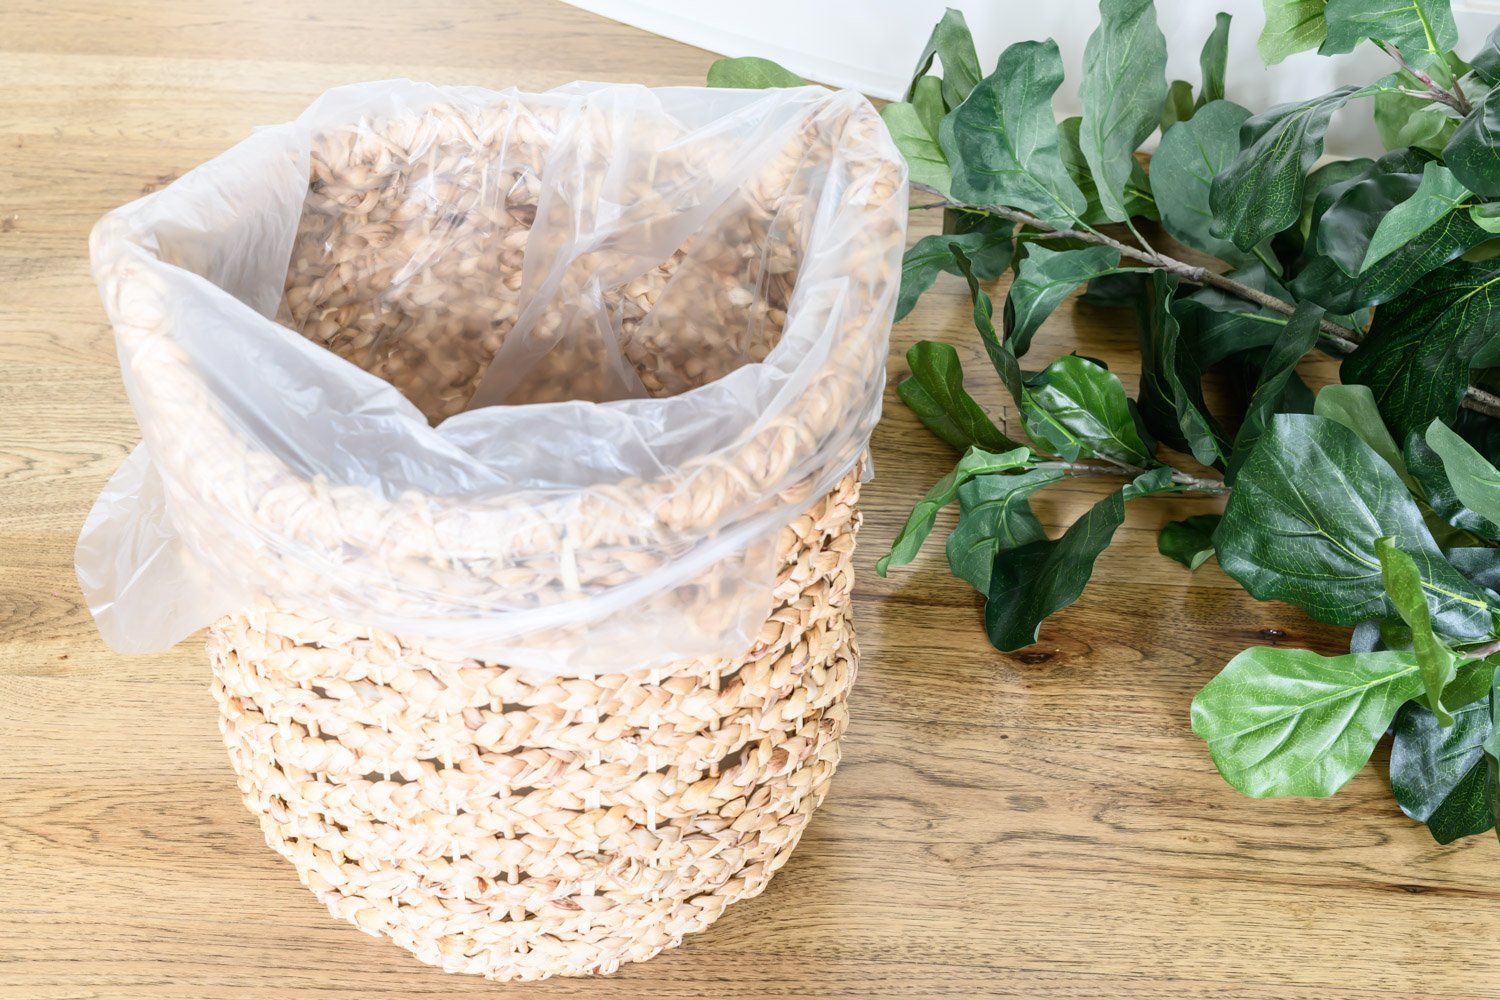
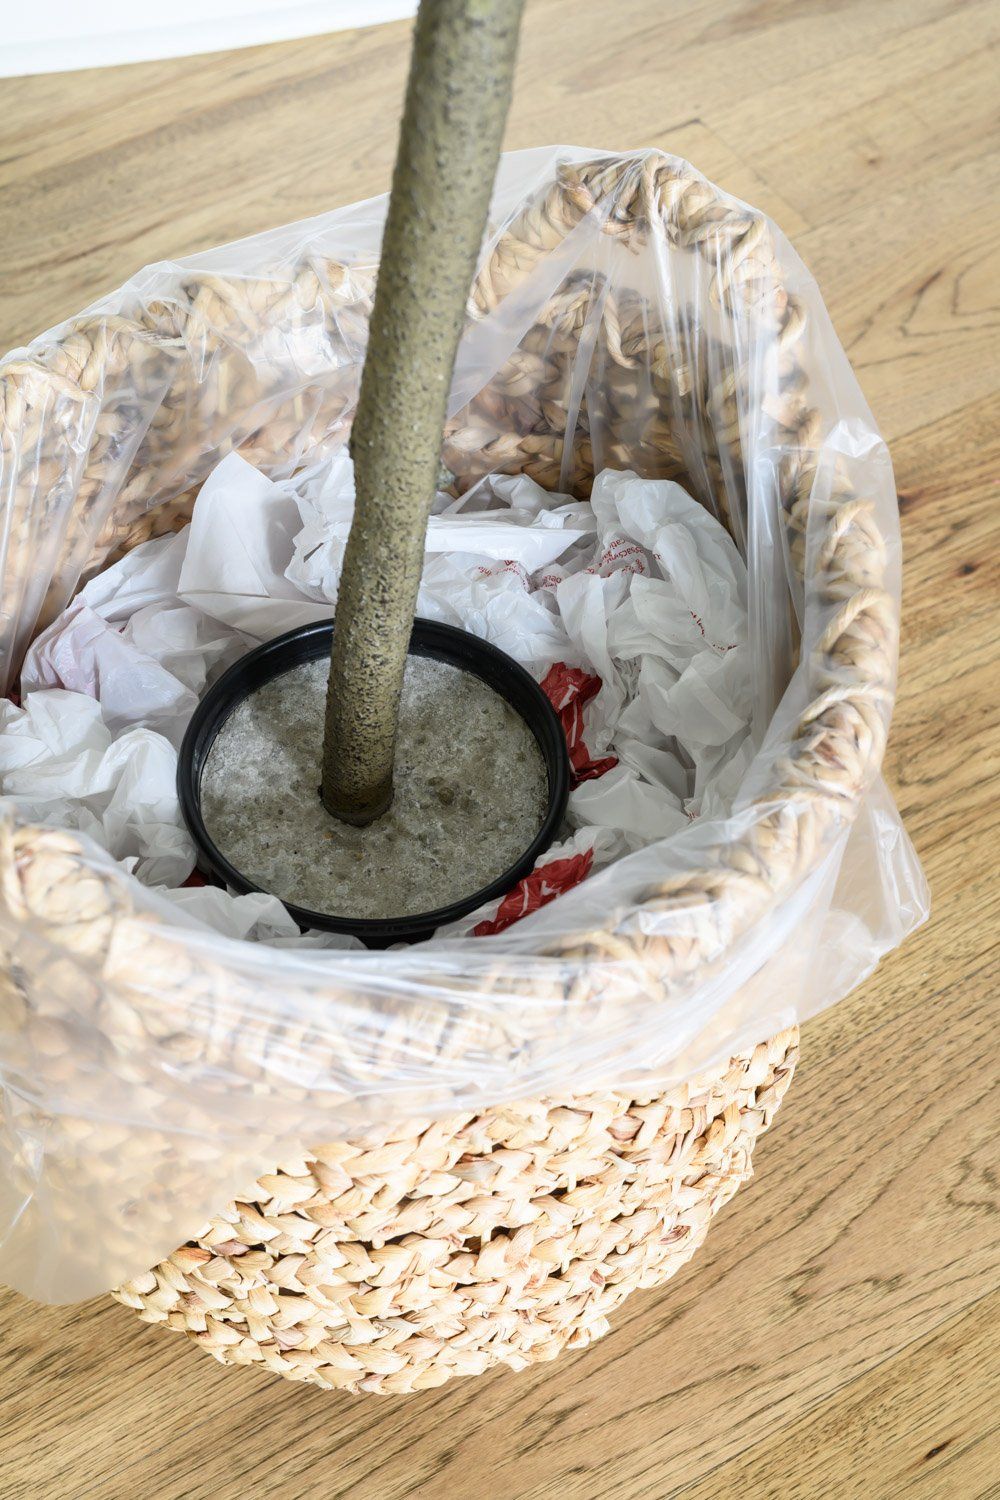
The price of your tree will be based on its height, so we want to maximize the bang for the buck by setting up the base thoughtfully. If you are using a basket, I recommend lining it with a clear plastic bag, so the foam doesn’t expand through the sides. Once you’ve lined your basket you can build up some extra height by adding in some empty shoe boxes or old books. Be careful to leave enough room for the foam and moss to cover the top of the tree base without expanding over the top of your basket.
Step #3
Fill in the sides of the basket.
I used mixed recycling, including plastic bags and old wrapping paper to reduce the space around the sides.; this will cut down on the amount of foam you need if you are using a large basket or pot.
Step #4
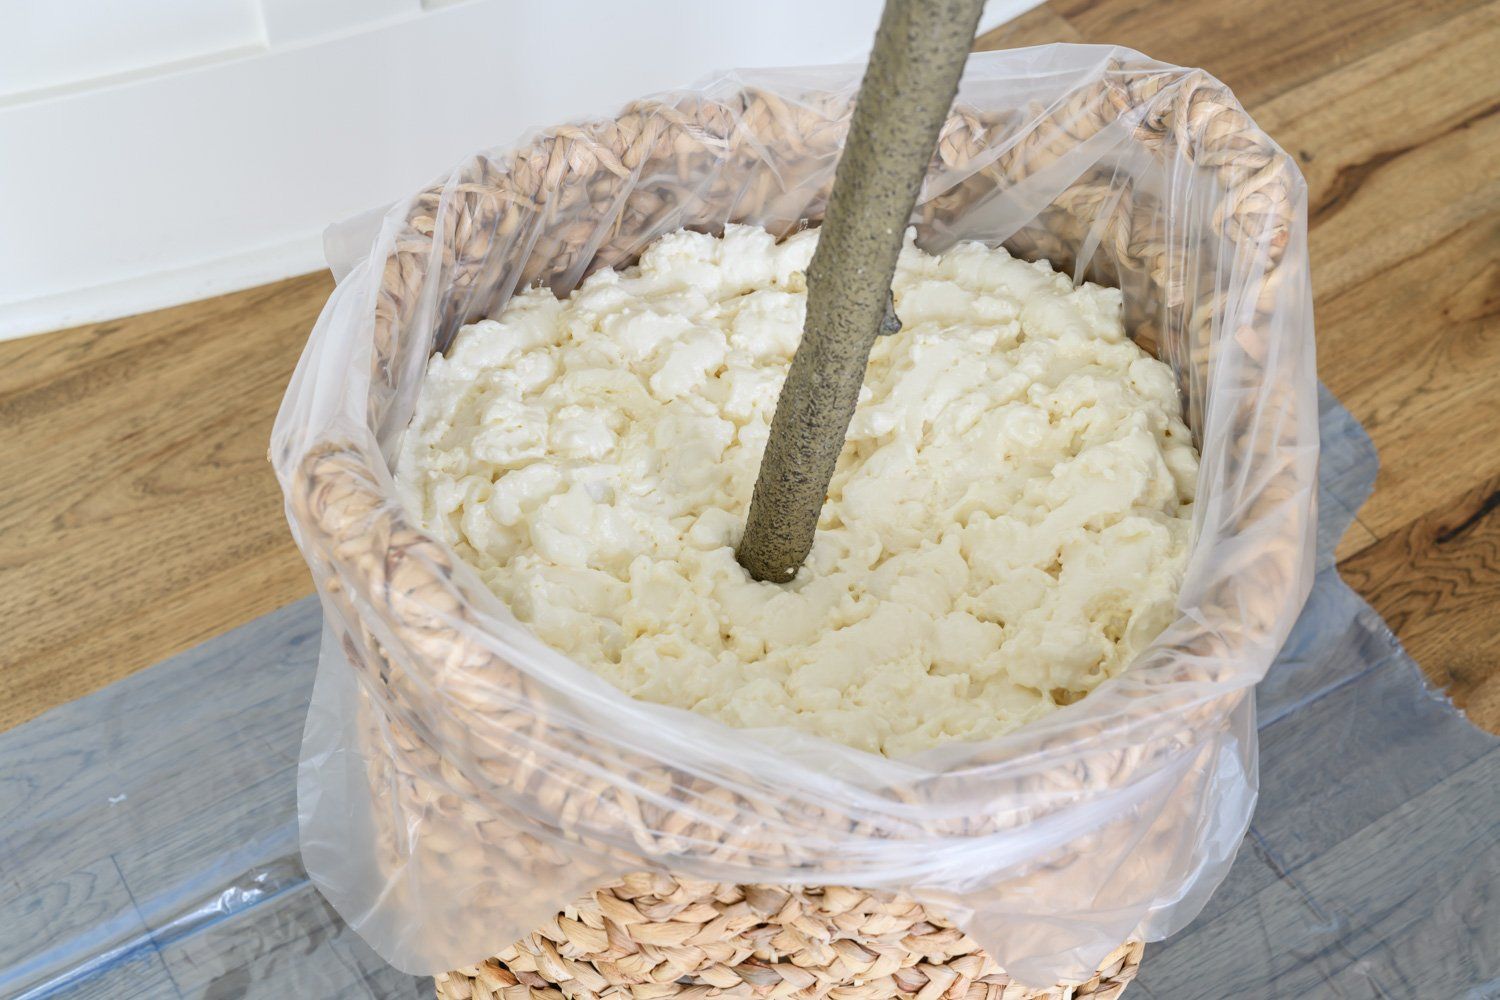
In a well-ventilated room or outside follow the directions on the can of “Great Stuff.” It’s very sticky so be careful not to get it anywhere; I recommend wearing gloves as well. Insert the straw end as low into the basket as possible and spray the foam all around. Working your way around the base until you have the whole basket filled. Leave a few inches at the top as it will continue to expand as it cures. Allow the foam to dry and cure overnight.
Step #5
Now that your foam has cured you can cut any high points off using a serrated knife. This step isn’t completely necessary, but It takes less than five minutes, so I figure why not. If you would rather use decorative rocks instead of moss, this will give you a smoother surface.

Step #6
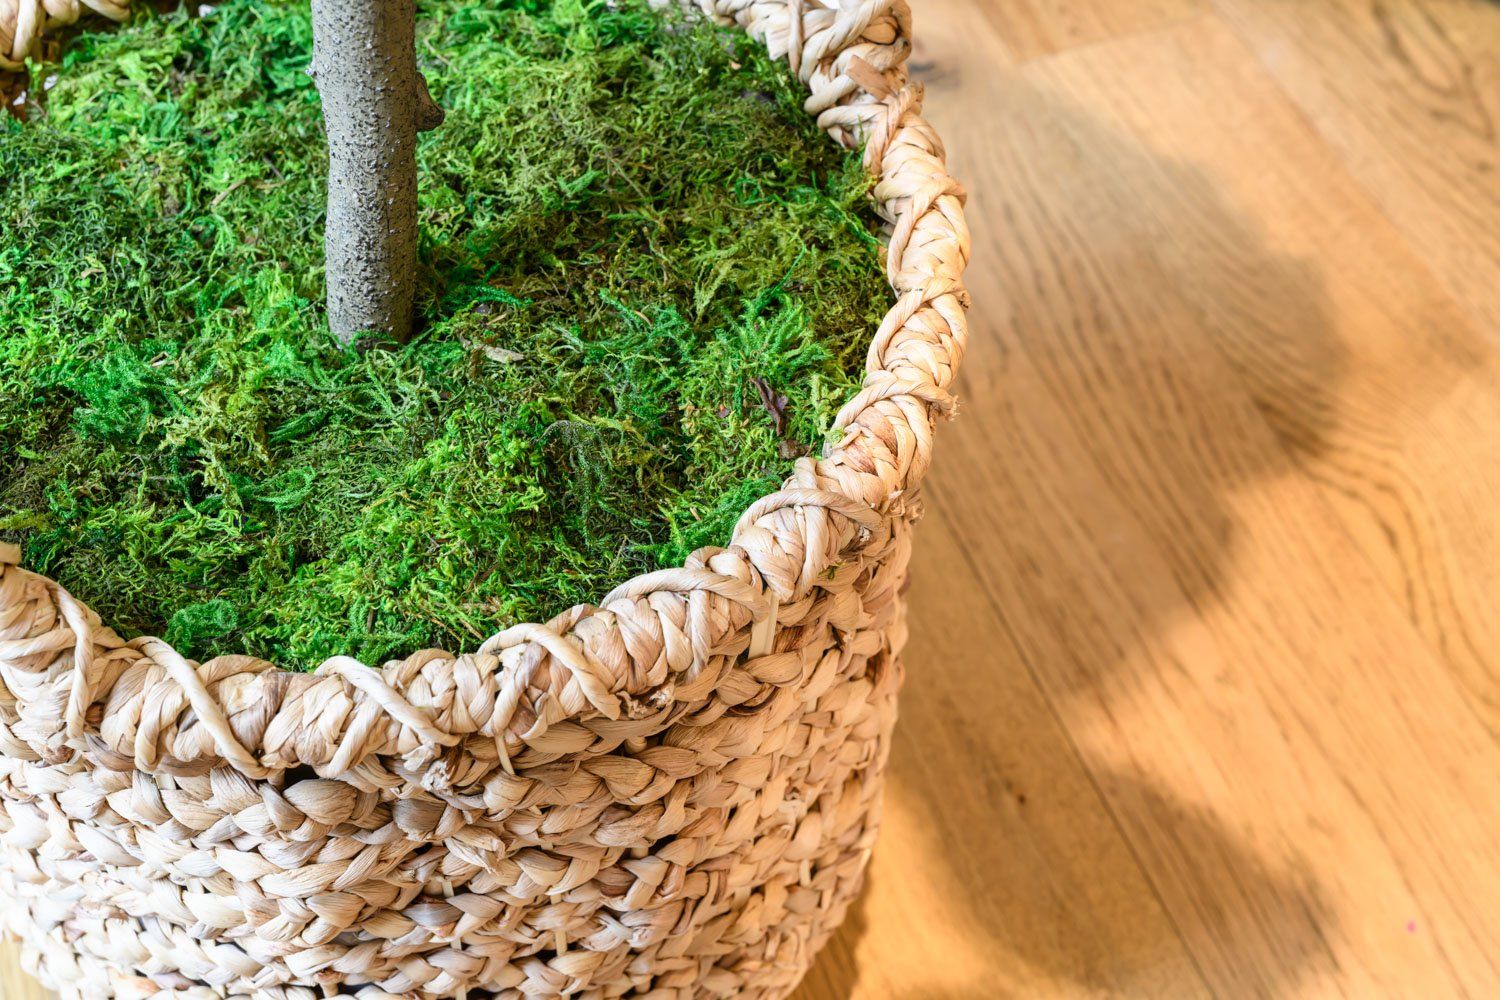
Paint the foam using your black acrylic paint. This will dry matte and give the foam the look of dirt. Allow paint to dry. Approx. 30 minutes.
Step #7
Finally cover the foam with preserved moss. Because I have young children, I like to glue the moss onto the foam using a hot glue gun. This seems to limit the amount of mystery moss I find around my house.

Set it up in your room and enjoy that big pretty tree without ever having to water it! Just be sure to let your mother-in-law know it's fake if you leave her in charge of checking your house while away on holidays!
Enjoy!


A fun twist on a classic bruschetta recipe for your next halloween party!

A spooky treat just in time for Halloween!

We love making these yummy, heart-shaped cookies around Valentine's Day, but you can make them all year round!